Want to know how to make a free logo, one that looks professional but is easy to create?
You’ve probably read all sorts of info about how important it is to have a logo design for your biz. So, why is it that you still don’t have a logo, or at least one you like, that makes sense for your company?
I get it. The thought of creating one on your own, when you’re not a graphic designer, is overwhelming! But having someone else design your logo takes too much money and too much time waiting for a designer to create what you want… time that you don’t have!
No worries!
I’m going to help you make a free logo design that you can use to brand your business on your website, in social media and in all your other marketing materials… step-by-step. I’ll show you how to design your logo from beginning to end, WITHOUT any design experience.
Seriously! We‘re doing this together!
Keep in mind that a logo’s job is to help your audience recognize your business and elicit positive feelings toward your brand.
So, make sure your logo design is:
*Clean and simple
*Easy to Read
*Totally Unique (If it’s original, you can copyright it and no one will confuse you with another business)
*Created using high-quality graphics and not clip-art (Really, clip art is cheesy and you’ll end up with a logo looking like everyone else’s)
*Created using the colors & fonts in your brand
Got it?! Okay, let’s make a free logo! No experience is required… just a will to be in charge of your own logo design, saving both time and money.
Make Your Free Logo Step by Step
Follow these 6 easy steps and within 30 minutes, you will have made a logo for free!
Step 1: Get Your Free Graphics and Logo Design Software!
Download the free version of The NEW Graphics Creator 8 design software here!
Once you launch the software, follow the easy steps for downloading the free templates that come with it (installing these will also remove the watermarks from each template).
We’ll be starting with one of the pre-made logo templates (included in Logos and Business Cards template set) so you can see how easy it is to modify.
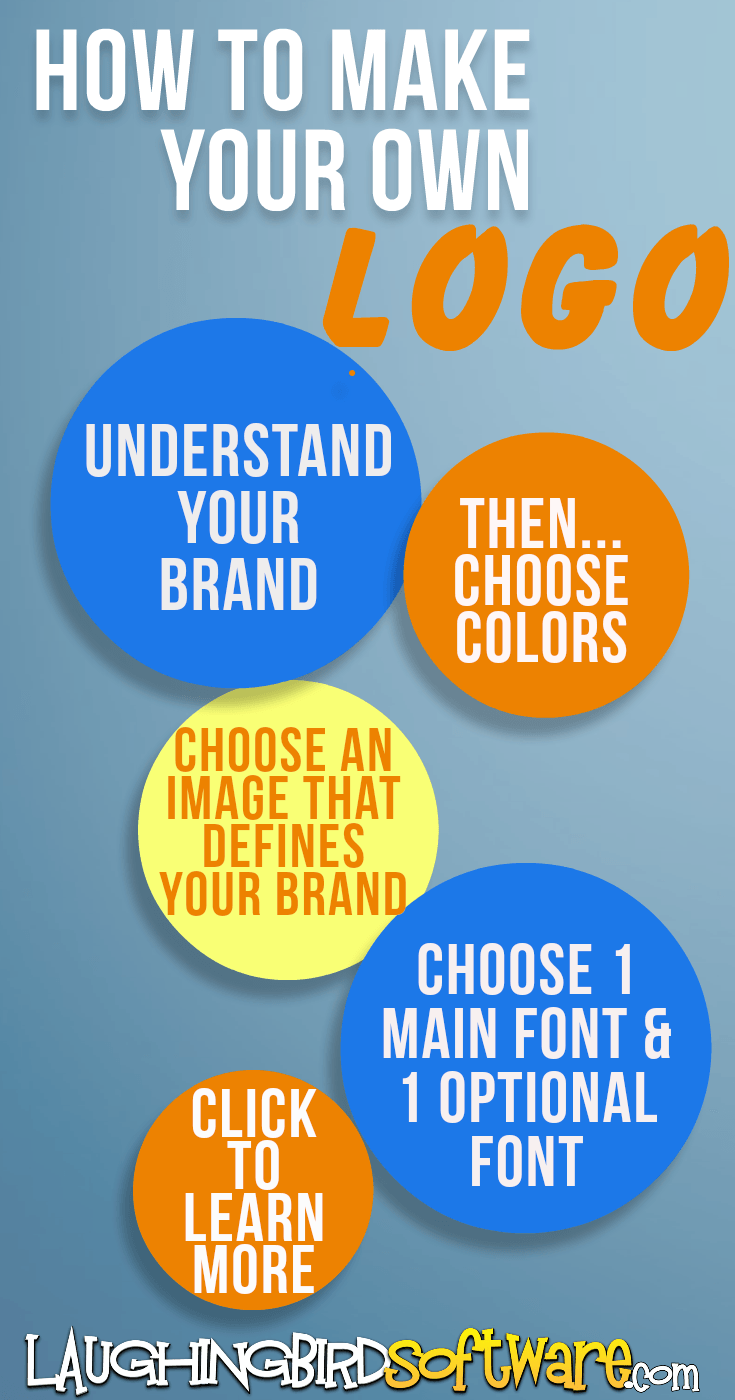
Step 2: Choose colors
Find 2-3 colors that are meaningful and let others know what your brand is all about. Plan on using these same colors on your website, social media, and marketing materials.
If you’re still not sure which colors to use, there’s a ton of advice on color psychology and choosing color palettes on Pinterest.
Generally, you’ll pick one main color (for about 80% of your logo), one secondary color to contrast the first color, and then, perhaps, a third small splash of color as an accent.
Step 3: Choose an image
If you haven’t played around on the canvas of The Graphics Creator logo and graphics software yet, you’ll start creating your free logo now. Looking at the logo template we’re working with, I first changed the background color to the color I’ll use for my website background (so I can see what the logo will look like on it).
Now select your free logo object, if desired. You can easily drag and drop an object or design from within the software (see the pull-down menu at the top). Choices are limited with the free version of The Creator software. Or, you can import your own image using the “File” menu.
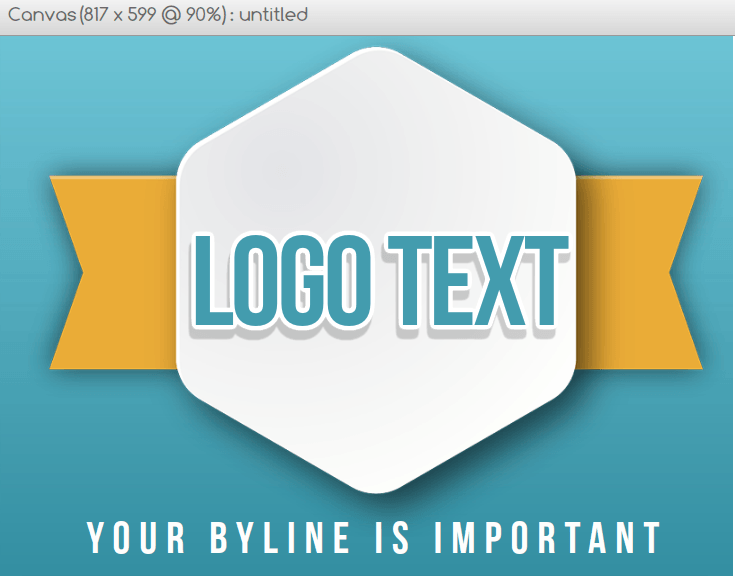
Below is the original free logo template from The Graphics Creator Software.
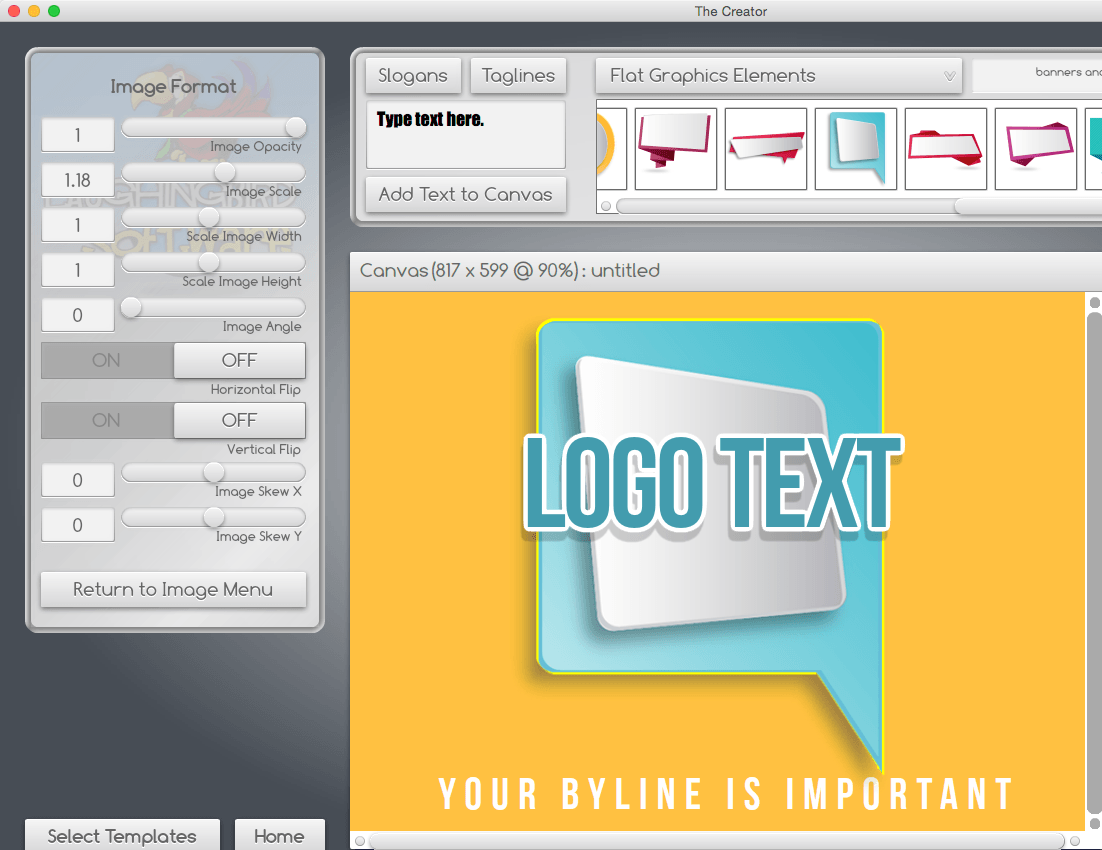
Next, see how I make my own logo simply by changing the image and background color.
Step 4: Choose fonts
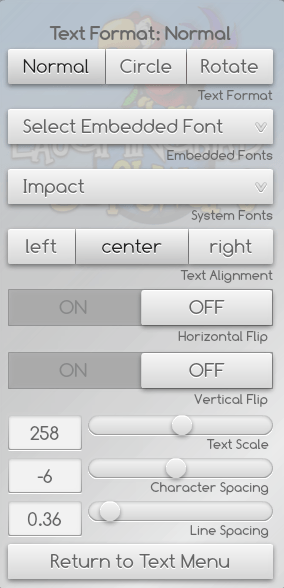
Select 1-2 fonts that’ll work well together in your logo. You may wish to play around with this a bit, as there are lots of fonts to choose from, inside of the software itself. If you like a particularly funky font, just make sure it works with your brand. And then, if you are using a second font, only use a very simple one.
Type in the name of your business logo (in the Add Text to Canvas box) and then select “Format” from the menu on the left. Now choose fonts from one of two drop-down menus (Embedded Fonts or System Fonts).
Step 5: Put your logo design together!
Now that you have your logo name and image on the canvas, you can play with changing the size of each and arranging in a pleasing and purposeful way. Look at how I personalized the free logo template:

Step 6: Export and use your free logo!
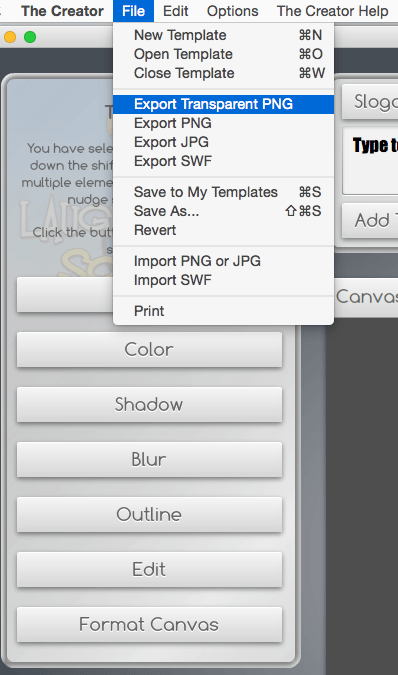
Use the “File” menu to “Export Transparent PNG”. Now you can use it on your website, blog, or other marketing materials without any background interfering.
You did it! You know how to make a free logo! If you haven’t already, download the free version of Laughingbird Software’s, The Graphics Creator 8, now.
And because you have it saved in The Creator7 software, you can come back to modify it at any time. You can also create more graphics you need for your website.
Now, share this article with your friends so that they can make a free logo too!
