You’ve probably heard that an article with high-quality blog graphics is read more easily and gets way more social media shares.
Unfortunately, for most bloggers, the problem is that you’re NOT a graphic designer. You don’t have time to learn complicated design techniques or a ton of money to spend on graphic designers.
However, you can learn to design your own blog graphics at a moment’s notice in just minutes.
First, get the FREE Graphics Creator software. Now follow along step by step!
Six Easy Steps to Designing Amazing Graphics for Your Blog, Pinterest, and Social Media.
If you’re a blogger or content creator, you constantly need graphics for your blog and social media. So, you need graphics creation to be easy. And you probably don’t have time or money to hire a designer for each and every graphic.
Have you ever wished you had an in-house designer to make every graphic you need?
I’ll show you how you can become your own in-house graphic designer and create blog and business graphics in minutes, at any time of day.
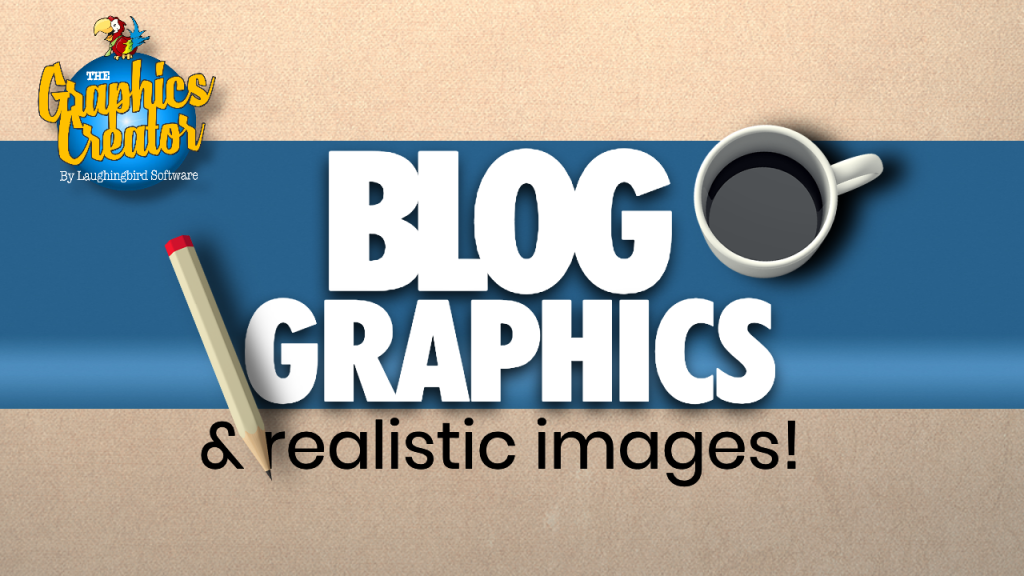
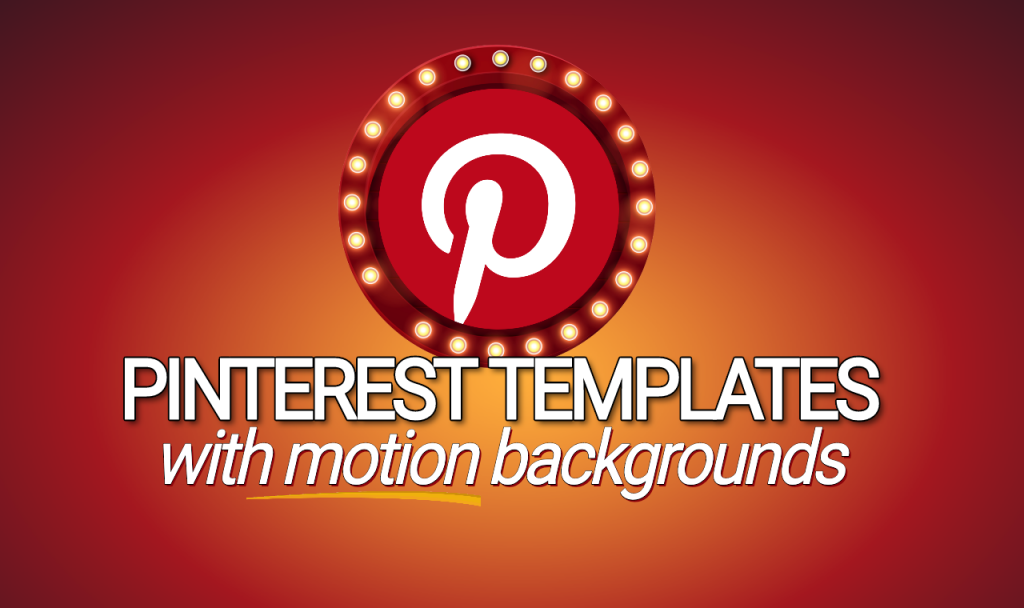
You might also like to grab the Blog Graphics Templates and Pinterest Templates with Motion Graphics
Follow these 6 quick steps to create your very own blog graphic in under 20 minutes (and once you get the hang of it, which won’t take long, you’ll be whipping out each graphic in just a few minutes).
Before beginning, have you gotten The FREE Graphics Creator design software yet?
Yes, it’s FREE!
Then, be sure to also install the free templates (this will remove the trial watermarks… those pesky squiggly lines).
Now, let’s design your first blog graphic!
Step 1. Begin Creating your Blog Design
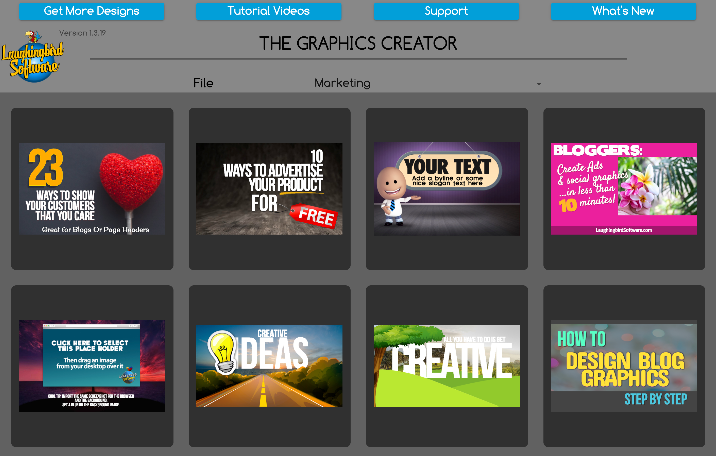
Select the free template set from the pull-down menu on top. Then click on a template you want to use.
Step 2. Size the Software Canvas
This is where you’ll be designing all of your images. You can re-size the canvas to a size needed for your blog, making it bigger, smaller, wider, or taller.
After selecting your first template, start by clicking on “Format Canvas”. Here you can re-size the canvas (making your overall image bigger or smaller) and change the color of the background.
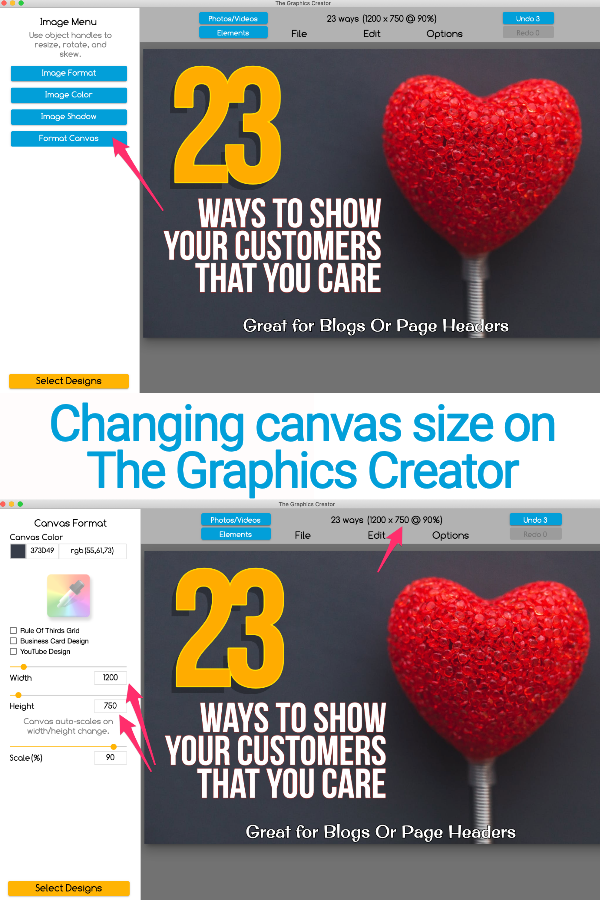
A typical blog graphic header, otherwise known as a “featured graphic”, is a rectangle (canvas size is set at 1200 x 750 in this example template).
However, you may also wish to use a variety of sizes for smaller content graphics throughout your blog article.
Step 3. Choose your Images
Being a serious blogger, you’ll want to make sure your images are relevant to your article and help readers understand what the article is about. Good images can even be teachable moments.
So, considering the importance of images, there are two images you may wish to modify:
OBJECTS
After selecting your first template, click on an image or object in the template to “highlight” it. Then you’ll see the “Image Menu” on the top left.
You can delete it and choose a new object/s. Or simply re-size it or re-color it.
To re-size objects or text… Click to highlight and use the “grab handles” to resize in all directions.
Choose where to go within the Image Menu. You have several options to choose from. To get a feel for the software, click on different menu choices and play around a bit.
Once you have the perfect object, re-size and modify just like you would any image or object already included in The Graphics Creator.
BACKGROUND IMAGES
What is the purpose of this image in your blog and in your article’s overall design? You might wish to have similar background images to stay consistent with the article’s topic and your brand.
You can change the background image by clicking on and deleting the current image. Then you can search for new images in your “Elements” tab or by searching from your “Photos/Videos” tab. Or you can also import a photo or graphic from your computer.
How to Import a Photo or Graphic for your Blog Design:
Yes, you can import images and resize them to fit your canvas! There are two easy options here.
- To import an image from your computer desktop, go to the “File” menu for at the top of your screen and choose “Import Image”. Select your image and you’ll now find it on the canvas!
- Use The Graphic Creator’s searchable stock images without ever leaving your blog design.
Take a look:
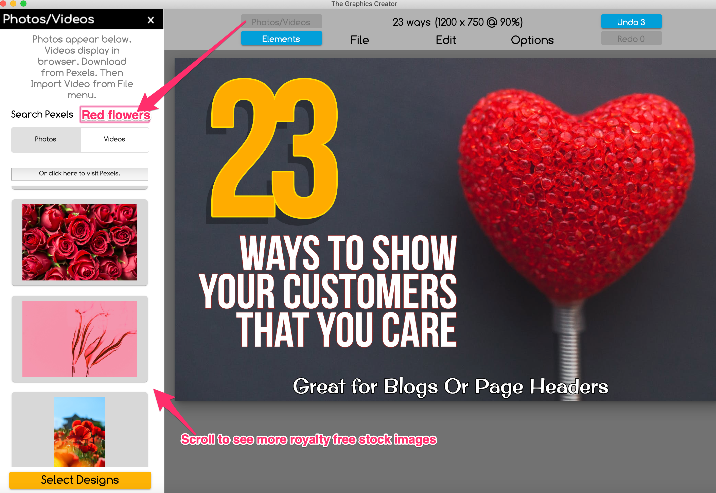
Important Advice: Use an image that’s relevant to your blog so that the search engines and Pinterest have a good understanding of what your article is about. This will help it rank higher in both.
4. Add your Text
Now change the text by clicking on the piece of text you want to change. The menu on the left will change to “Text Menu”. This menu works in the same way as the Image Menu but has more options.
For now, keep it simple. DOUBLE-click to highlight the text and write out what you want.
To add additional text, select the “Edit” menu and choose “New Text”. Then DOUBLE-click to highlight and change the text. You may also wish to select a new font.
5. Choose a Different Font and Background Color or Image
This step is optional but recommended… especially if you’re using your final graphic on your blog article or for a Pinterest pin.
Choosing a different font and modifying the background will create a more customized design. And having a unique design will help you rank in both Pinterest’s and Google’s algorithms, thus bringing you more traffic!
It’s easy. Here’s how.
If you want to use a different font, click “Text Format” and select from hundreds of fonts. Make sure you’ve highlighted the text you want to change first.
There are a couple of options here:
- PICK A SYSTEM FONT
or - PICK A GOOGLE FONT
Just click on either option and scroll to choose a font that looks good to you.
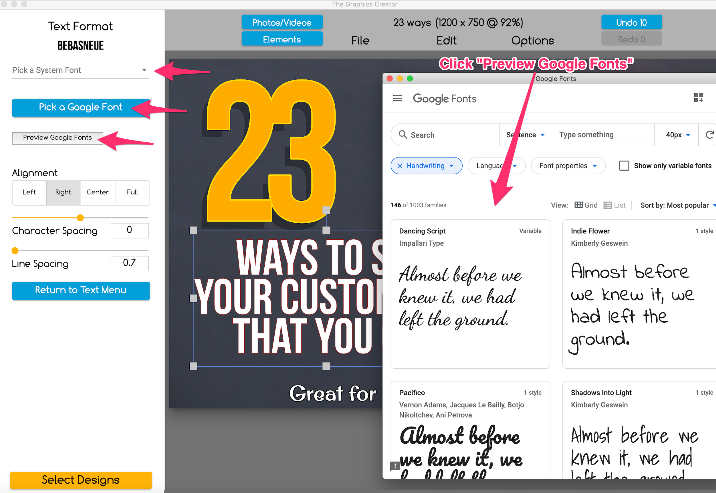
You can also scroll to choose here but you can also type in a Google font you’re searching for. If you’re looking for a particular type of font, you should click on “Preview Google Fonts”.
Click on “Categories” and you can browse different types of fonts including serif, sans serif, and handwriting.
6. Download your Final Blog Image
Once your design on the canvas is complete, go to the “File” menu and choose “Download Image. Select JPEG or PNG (JPEG is usually good for blog graphics).
After creating one or two images, you won’t need these instructions anymore.
It’s that easy to tackle your own blog graphics design!
Now That You’ve Designed your First Blog Graphic
Congratulations! You’ve created your first blog graphic design.
You can continue to practice with your free templates. Then grab the full set of Blog Graphics Templates.
And if you’re like most bloggers and wisely spend your time on Pinterest, then take a look at the Pinterest Templates with Motion Graphics … easily make your own attention-grabbing Video Pins!
Want more DIY design inspiration or ideas on how to use The Graphics Creator by Laughingbird Software? Check out all of our articles and video tutorials in our Creatorpreneurs Academy 🙂
The Creatorpreneurs Academy brings together strategic marketing with eye-catching design so you have the tools and skills to grow your business fast.