You already know that Facebook is a powerful way to share your greatness with the world. But, if your Facebook images aren’t created and posted correctly, you’ve just officially wasted your valuable time and effort.
After all, your number one goal is to connect with your audience. But what if your audience isn’t connecting with you?! They’re not clicking over to your posts! And your effort has all been a big, fat waste of time!
Poorly optimized Facebook images can be one of the biggest roadblocks for your audience.
If your audience isn’t seeing your posted image the way you intend, they won’t even “click” on it. Maybe because it looks irrelevant, uninteresting, or unprofessional! Worse yet, what if they don’t even get directed to your website or blog by clicking on your image from Facebook or Google plus?!
Here’s a simple trick to make Facebook images point directly to your blog article or webpage:
First, publish or upload your article to your site. Then insert the graphic you’d like to use for sharing (see below for the correct way to do this…)
Then, go to the Facebook Debugger tool: https://developers.facebook.com/tools/debug/.
Enter in the URL of the webpage your post is on. Click on “Debug”. You’ll see the image that’ll be posted when you enter the link URL into your Facebook post. If you don’t see the image appear the first time, click “Scrape Again” until Facebook finally “sees” the correct image.
IF YOUR IMAGE DOESN’T FIT CORRECTLY WHEN IT APPEARS IN THE DEBUGGER TOOL…
Check your image’s size.
Facebook images are recommended to be 1200 x 630 (but they’re changing all of the time, so check before creating your image). Stick with the recommended size if you can when creating your graphics. They can be smaller, but preferably not smaller than 600 x 315.
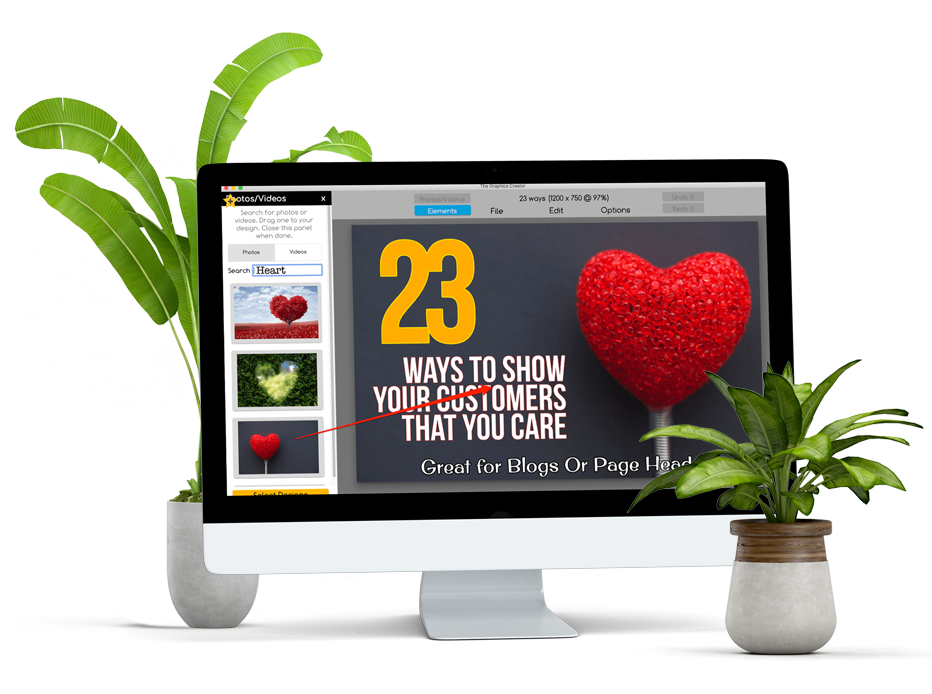
Use The Graphics Creator to size the ‘canvas’ to this exact size, and create your images within this canvas size and your graphics will be perfect.
Get the Free Graphics Creator software and create the graphics for your Facebook banners, posts, and ads:

Creating the correct “tags” for your image
To upload the image onto your site, the image needs to be “tagged” with something called a “Facebook Open Graph Meta Tag”
In HTML, it’ll look something like this:
<!-- for Facebook -->
<meta property="og:title" content="" />
<meta property="og:type" content="article" />
<meta property="og:image" content="" />
<meta property="og:url" content="" />
<meta property="og:description" content="" />
If you’re using WordPress for your site and blog, you can download a number of plugins that’ll make this easy!
Try the YOAST SEO plugin or choose your own.
The other social media sites are also taking advantage of social meta tags. All of the other major platforms, Twitter, LinkedIn, and Google+, recognize these “Open Graph” tags. Twitter actually has its own meta tags for Twitter Cards. But if Twitter robots can’t find any, Twitter uses Open Graph tags instead.
So, now when you post a URL on your Facebook page and this URL contains the Open Graph tag, your image will pop up inside your post. And, even better, your audience can now just click on the image to go directly to your website or blog!
There it is!
You can see how I’ve done it. Click the ‘Facebook’ button or one of the other social media sharing buttons to see what the graphic looks like after I used the Facebook debugger tool!
From now on, you’ll have an easy time posting images to Facebook.


