Have you tried out the text in a circle creator tool in The Graphics Creator? This gives you the ability to quickly and easily place text around an object for your next design masterpiece.
How the Text Circle Generator Works
Circle text works a bit differently than normal text and this new feature can be found under the “Insert” menu. Just choose the Text Circle option. This opens a new menu for the Text Circle.
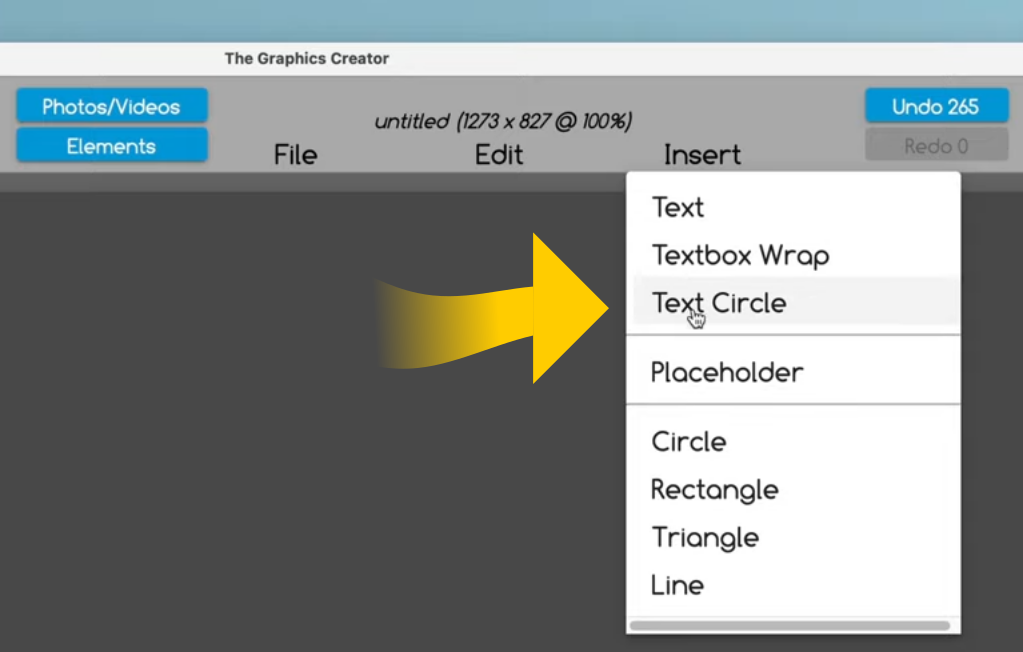
From here, there are a bunch of additional controls you can use to make changes to get exactly the look you want.
You can scale the size of the circle to fit around an object, rotate the text around the circle, and adjust both the font size and the spacing between the letters.
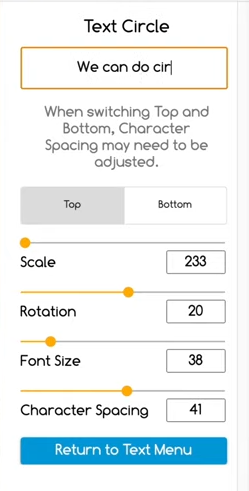
Text Circle Adjustments
Normally, in The Graphics Creator, you change the text by double clicking. But when you’re using the Text Circle generator, it works a little differently.
You add the text you want to show on the circle in the box at the top of the Text Circle menu. To make adjustments to the font, text color, and text effects, choose the blue box at the bottom of the circle text option “Return to Text Menu”. This takes you to the Text Menu where you can make all the adjustments to the font that are normally available in our graphics maker.
Under Text Format, you can choose which font you’d like to use. If you have the downloadable version of the software, you can choose a system font. However, Google fonts are available if you are using The Graphics Creator online.
After choosing the font you’d like for your project, select the Return to Text Menu option.
You can manipulate the look of the text by selecting the Text Circle Format option which will take you back to the Text Circle menu. Here you can scale and rotate the text. You can also adjust the character spacing which will change how the letters spread around the circle.
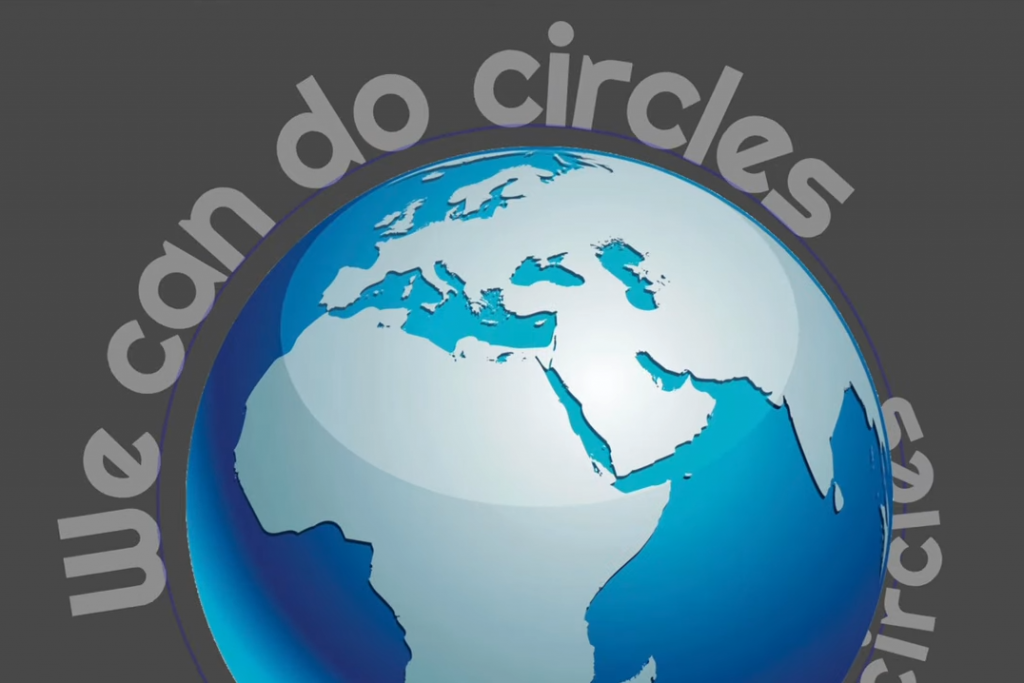
You can also move the text from the top of the circle to the bottom. Text in the Top position will be along the outside of your circle and text in the Bottom position will be within the circle. Text in either position can be adjusted for font and spacing as you’d like. You can choose to have the top circle text in one font and the bottom circle in another like we did in the example photo.
You will probably have an image you’d like your text to circle around. To adjust the text so it fits around your object you need to adjust the scale of the circle. Adjusting the scale will not change the type or size of your text, only the circle. Under the text, you will see a thin blue line that represents the circle your text is on. You can use this blue circle to get the size and placement set.
How to Change the Size of the Circle Text
First, there is a sliding adjustment in the Text Circle menu. If you need to a finer adjustment, place your mouse cursor on the small yellow dot on the scale slider. Click this small circle and it should enlarge to indicate that you are using this feature. Simply tap your arrow keys to enlarge or reduce the circle one unit at a time until the circle is the size you need.
Inside The Graphics Creator, we have a number of great templates for you to choose from, but only a few offer a circular text design. However, you can easily use the Circle Text feature to include text within any template you’d like.
Select the template you would like to use then insert a new Text Circle. Proceed as before by adding the word or words you’d like into the text box. Adjust the font type, size, and color to the font used in the template, or choose a new font to match your project. Remember that you can scale the circle to fit around an image and you can rotate the text into position.
Have a good time using this creative feature in the Graphics Creator. We’d love to see how you use the circular text to create your images, so please share your designs with us by posting in the LaughingBird Software Facebook group.
