Want to know how to make a free logo, one that looks professional but is easy to create?
You’ve probably read all sorts of info about how important it is to have a logo design for your biz. So, why is it that you still don’t have a logo, or at least one you like, that makes sense for your company?
Hi everybody! In today’s tutorial video, I’ll show you how to use The Graphics Creator to create your own custom templates and I’ll show you how to use them so that they won’t get altered after you edit it.
Great text design is one of the easiest and quickest ways to get yourself noticed!
But if you’re not a graphic designer or Photoshop expert, you might be thinking that awesome text effects just aren’t going to happen for you. Truth is, you don’t have to have experience designing text (or graphics!) to make a great text design.
So, you’re here because you want to succeed in using Pinterest for Business.
And you most likely have a product or service you’d like help marketing. But you’re just not sure where to start or how to do it? Read on… it’s easier than you think 🙂
Everyone’s always saying how great Pinterest is and how easy it is to spread your pins around the world. But let’s get real… using Pinterest for business is in a whole different universe than just swapping free recipes.
Yikes! Don’t make the same big Pinterest Mistake! Follow the questions below to work out your own Pinterest for Business plan.
I’m sure you’ve been giving your plan a lot of thought and have come up with exactly what you intend to do every single day, right?! [cough] [cough]
Well, if you’re spending the time to learn Pinterest for business, then you absolutely need to have a plan of action! Otherwise, you’re just wasting time.
I know. I know. It’s much easier to continue browsing through Pinterest as if a tidy little done-for-you business plan will be dropped on your lap at any moment.
And it’s a little confusing when you’re not quite sure what you’re supposed to be doing.
But just spend a couple of minutes reading below and you’ll end up with your very own action plan.
Ready? Here’s the simple Pinterest business plan I followed.
Follow along now and write down your own answers to these questions. I’ve provided the questions again as well as my own responses to make it easy for you to copy me (no need to be fancy…this is just for you).
Using my business plan has increased my viewers, impressions, and engagement with my target market!
Additionally, my Pinterest business plan has lowered my stress and has brought way more traffic to my site!
Follow along with these questions and devise your own plan while answering these important business questions.
GRAB THE GRAPHIC’S CREATOR PINTEREST TEMPLATES:
1. What are my Pinterest business goals?
My goals are to double my number of targeted followers, double the number of people who see my pins and increase the number of re-pins and clicks I’ve been getting by 10%.
Notice how I made these goals measurable by wanting to “double” my number of targeted followers, “double” the number of people who see my pins, and “increase” the number of re-pins and clicks by “10%”.
You can be even more specific if you want. Just make sure your goals are reasonable.
First, I’ll catch their attention with professional images. That will lead them to click on my business pins.
Finally, they’ll view my content that solves a problem or dilemma they’re having in their business. Then, they’ll have the opportunity to easily get the logo and graphics needed for their website or blog.
3. What content will be helpful to your audience and how will you deliver it?
I can provide content that will give my audience affordable and easy solutions to their constant need for website, blog and business graphics.
Problems they are having include visitors leaving their site before buying because of poor graphics, not having access to easy templates to create their own graphics, spending too much money hiring designers, not having time to learn other difficult graphics software, etc…
I can provide this content by sharing other’s quality pins on these topics. Additionally, I can share images and informative blog articles and video tutorials directly from Laughingbird Software’s blog. What I share will provide direct solutions to my customer’s problems.
4. When will you deliver this information?
I’ll deliver this content loosely based on my research of “best times” to pin as well as what works for me (2-4pm, 8-11pm, Saturday morning). I’ll review my analytics and responses to pins weekly to determine the best time to pin to my followers (based on country, sex, and interest).
Done! Actually thinking about these questions and writing down the answers helped a LOT. Now I can better visualize my simple Pinterest plan as well as the reasons I should spend time making it happen. Definitely worth the time!
If you still haven’t done this, answer these questions for your own business so that you, too, will have a simple Pinterest plan to follow.
Start writing out your simple Pinterest for business marketing plan… and make your social media marketing life a whole lot easier.
Todays Laughingbird Software’s “Tutorial Tuesday” teaches you the power of using your own photos with The Logo Creator
Watch this tutorial video and learn how to create your own Facebook Meme, how to create really cool YouTube overlay images, and what you can do with the built in GRID feature in The Logo Creator!
A huge challenge for your business is getting easy marketing graphics that are professional but affordable.
Learn how to create your own easy marketing graphics right now… even if you’re NOT a graphic designer and don’t have time (or money) to learn complicated design techniques!
Just read this step-by-step tutorial to find out how you can have the business graphics you need, all of the time.
If you’ve already downloaded your free graphic design software, you’re ready to go! If not, get the FREE version of The Graphics Creator software now (download here).
Ready to create a graphic step-by-step?
You can create easy marketing graphics (for free!) by using professionally pre-designed templates.
In just six, follow-along steps, you can learn how to make a graphic for an advertisement, blog, website, social media, etc!
1. How to Begin Creating a Graphic
From the pull-down menu on the left, click on the “Select a Template Set” menu.
2. The Software Canvas
Now that you’ve selected a design template, you may want to re-size the canvas, depending on what type of graphic design you need.
After selecting your first template, start by clicking on “Format Canvas”. Here you can re-size the canvas (making your overall image bigger or smaller) and change the background color.
Keep reading to learn how to use The Graphics Creator’s “color picker” tool.
In the above example of an Instagram-sized marketing graphic, the canvas is 1080 X 1080, fitting Instagram’s standard size perfectly.
However, you might want to use a variety of sizes for various marketing graphics throughout your content.
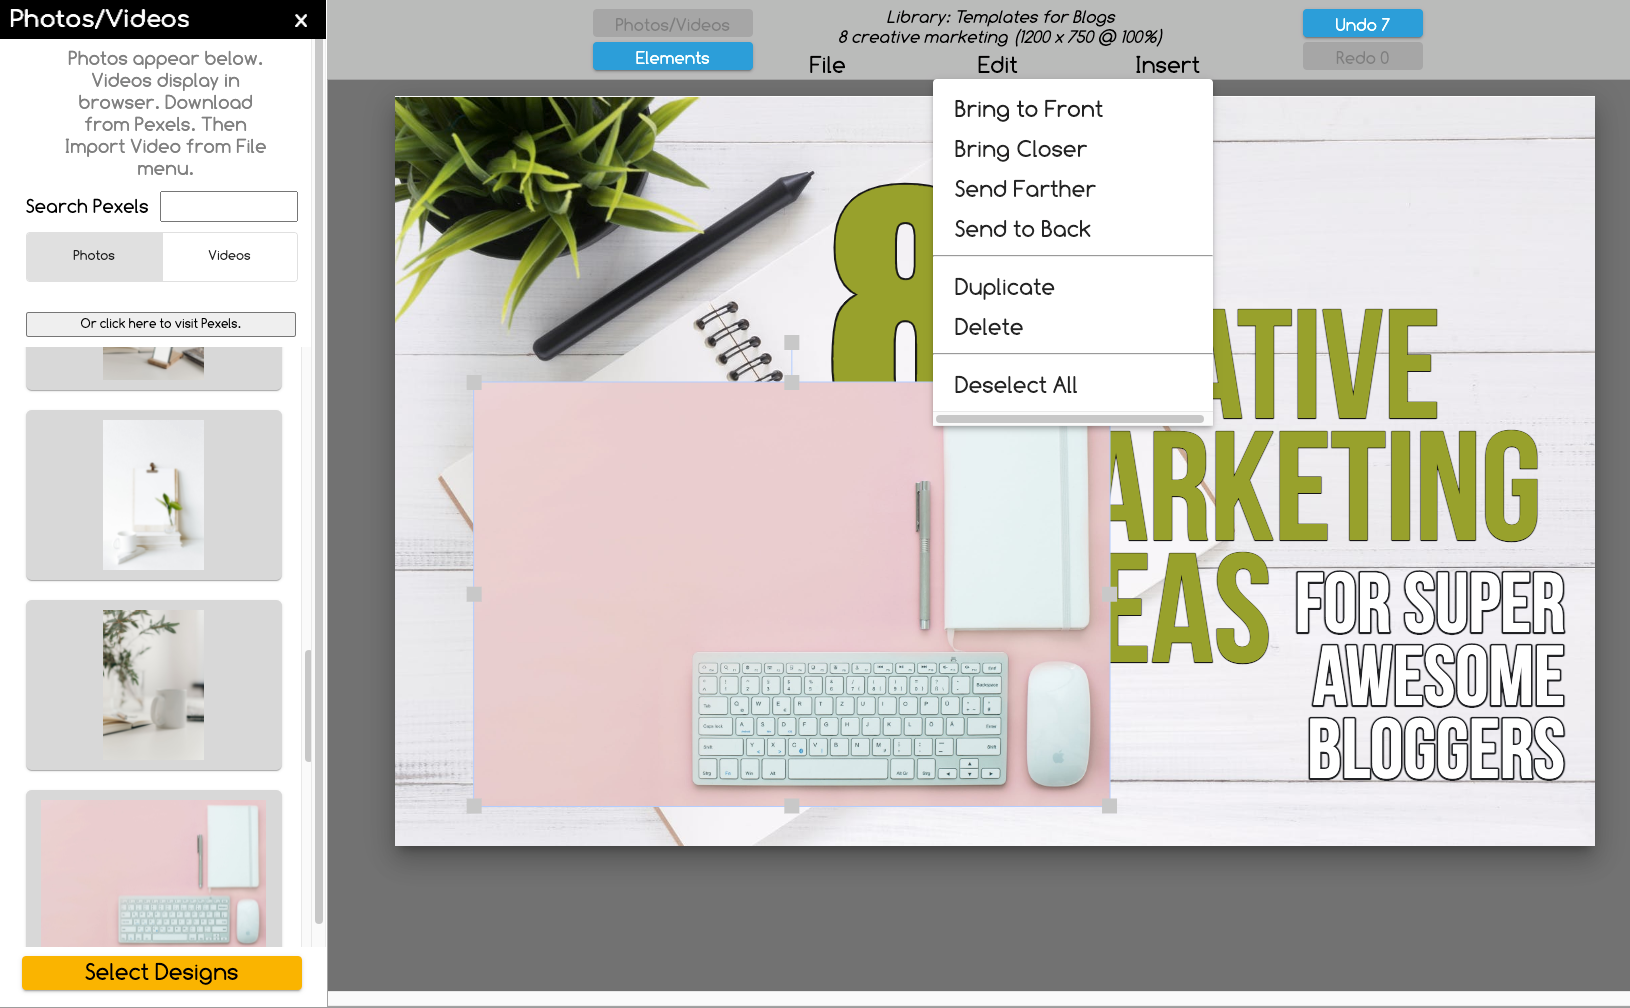
At any time, click on an image or element on your canvas to “highlight” it.
Then you’ll see the “Image Menu” on the top left. Each button leads to a menu of sliders that will modify your image.
For example, if you click on “Image Format”, you’ll be able to adjust the opacity (aka “Transparency”), the size (“Image Scale”), and the angle of each object (just play around a bit to get the hang of it).
By choosing “Image Color”, you’ll be able to “Colorize” and make a “Gradient” of color.
And check out the awesome “color picker” tool that makes it easy to keep colors consistent. Here’s how it works:
Click “Colorize”. Then, highlight (click) the object you wish to change color. Next, click on the small “pen” tool to the right of the color choices.
Now, go to your canvas, drag the pen to any color you’d like to match, click once, and then move the pen to the object you’d like that color given to and click once. Once you have the image colored as you wish, make sure to click once more on the color pen to turn it off!
4. Text Menu
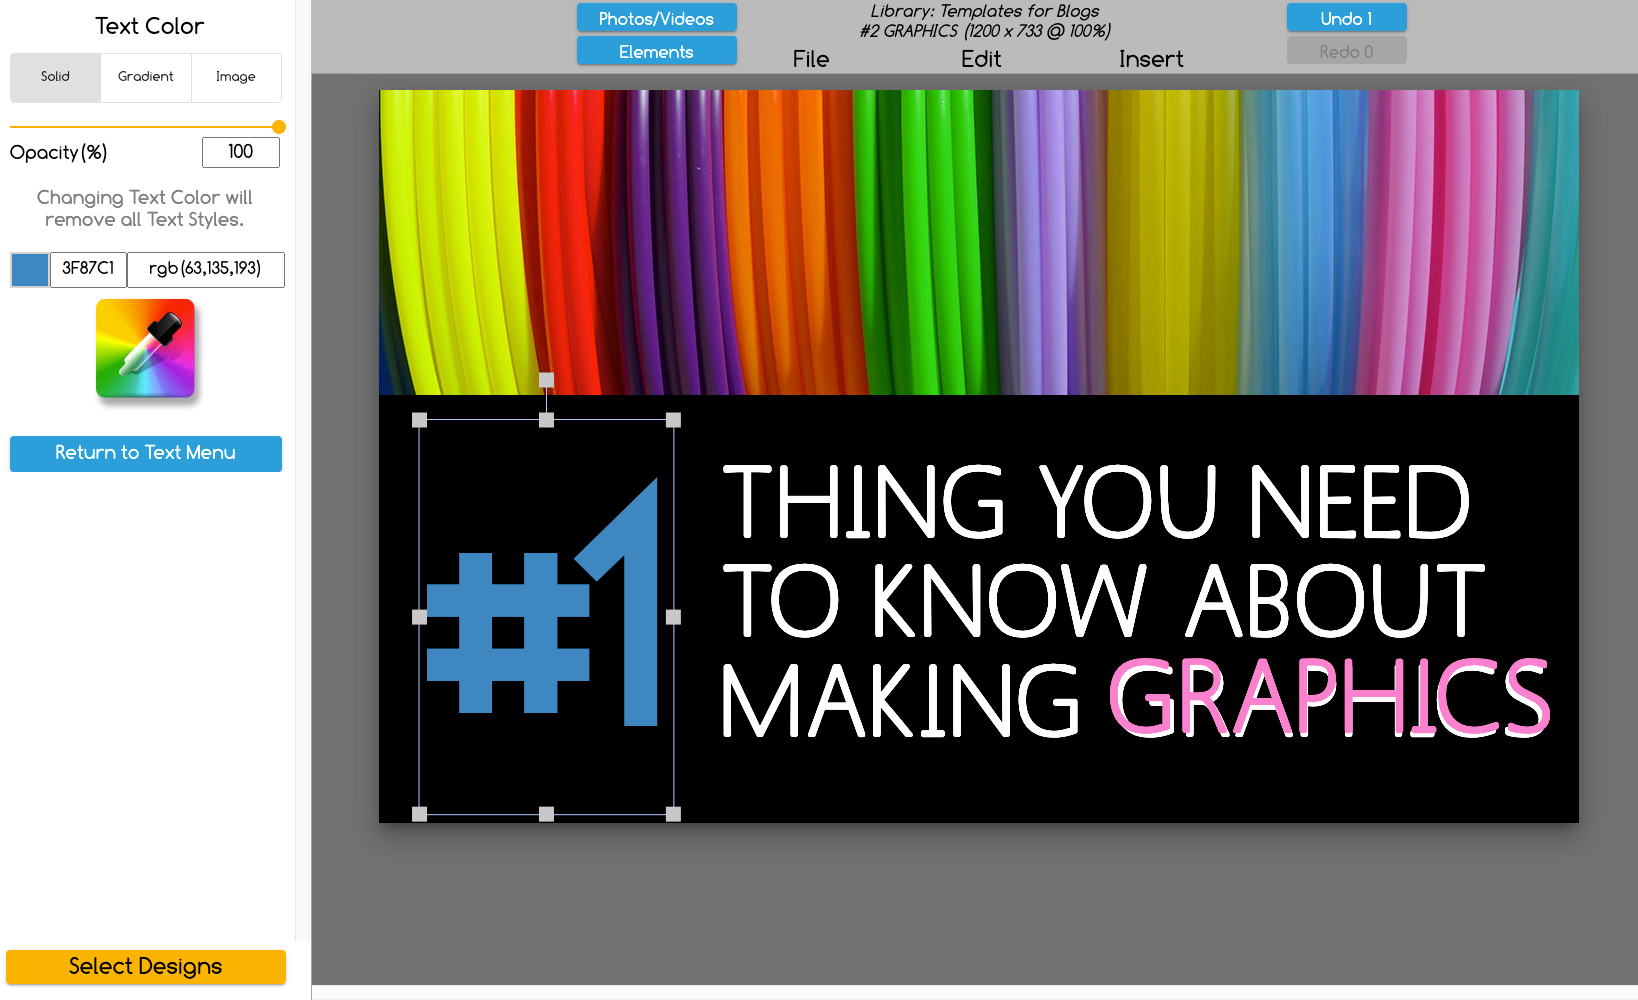
The text menu works the same as the image menu. Simply alter the text by clicking to highlight the text you want to change. The menu on the left will change to “Text Menu”. As you will see, there are several options on how to modify the text.
Click “Edit” if you simply wish to re-write the text. Re-write the text in the box and hit “Implement”. Only the highlighted text will change. You can also change fonts by clicking “Format” and selecting from numerous fonts in the pull-down menu.
Now, perhaps, you’d like to add another line of text. Look for the small box to the right of the Text Menu. Type in your text and click “Add Text to Canvas”. Click and drag the text to place it. Then modify it in the same way as above.
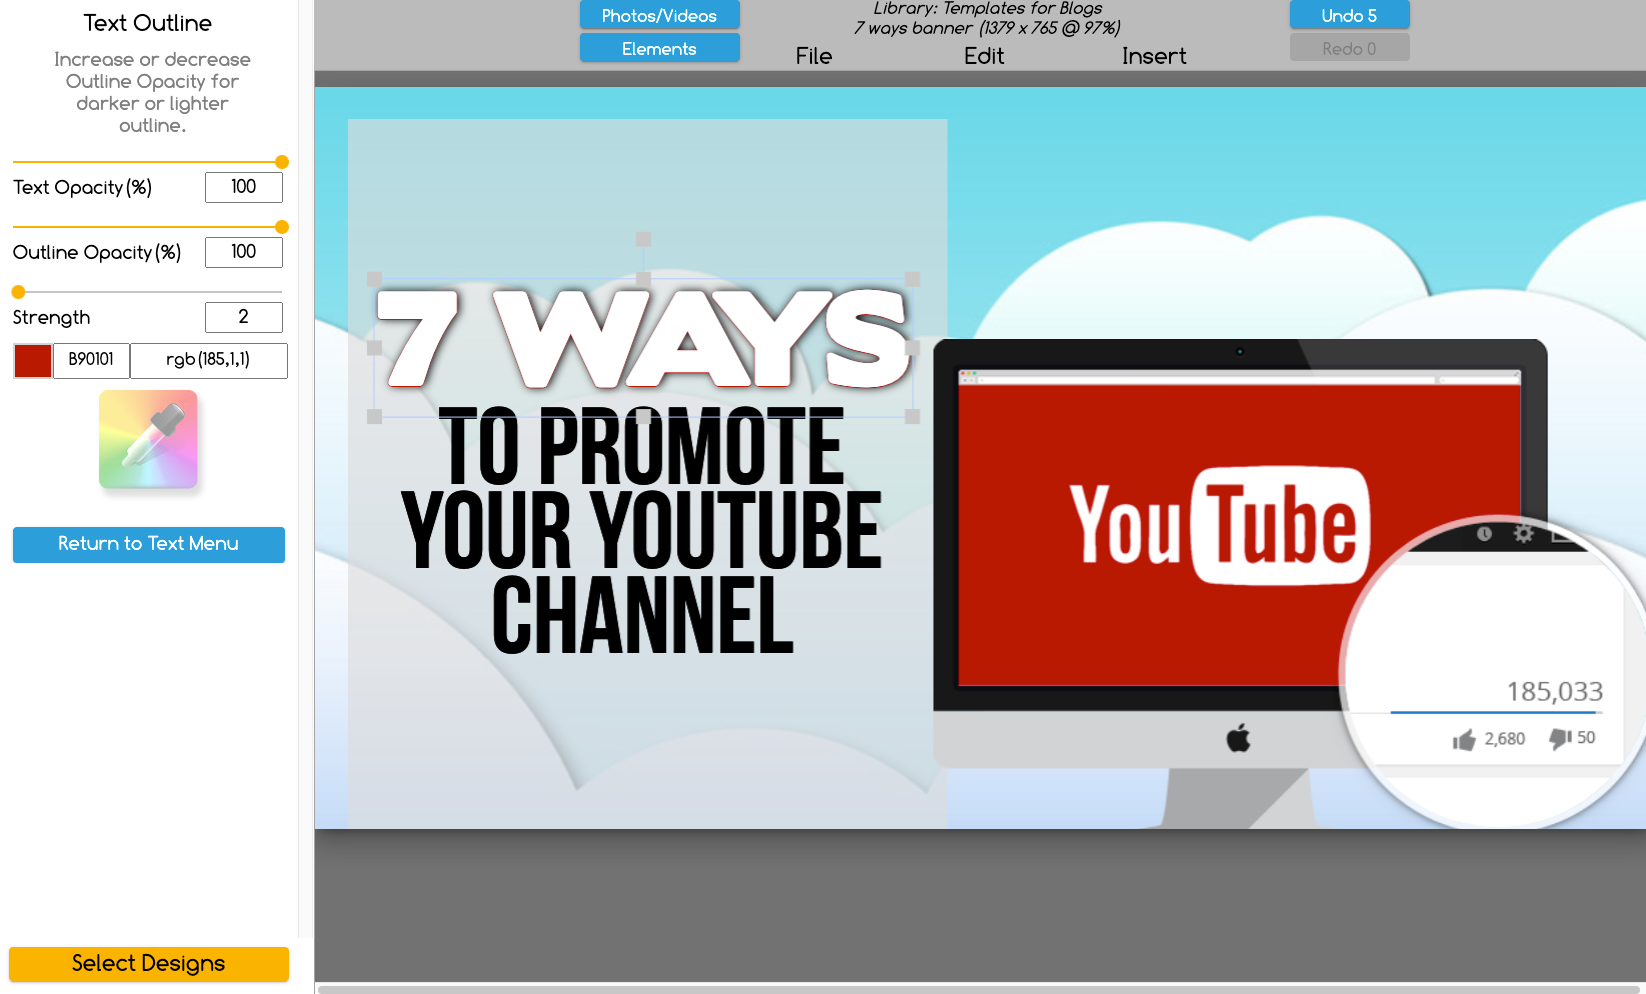
The “text color” button can be used in the same way as for an object. You can change the color of your text, as well as add an outline, blur, or shadow. Tip: Using the shadow feature is a great way to emphasize your text instead of outlining it.
5. Importing an Image
There are a ton of objects, swooshes, and design elements to help make easy marketing graphics. However, there may still be times you wish to import a specific image. And, you can easily resize imported images to fit your canvas!
Here’s how to import an image: Go to the “File” menu for The Graphics Creator software at the top of your screen and select “Import PNG or JPG”. Double-click on your image (from your own folder or desktop) and it’ll magically appear on the canvas!
To finish your marketing graphic, easily move, re-size and modify just like you would any image or object already included in The Graphics Creator.
6. Exporting your New Marketing Image
Once your design has been completed, go to the “File” menu and choose “Export JPG” (or PNG).
That’s how to make easy marketing graphics!
Now you’re ready to create every online graphic you need… for your blog, social media, website, advertisements, or emails. Get more professional templates created for exactly what you need: eCovers, social media graphics, animated presentations, logos, and more.