

Description
Did you know that you should put an image after every 350 words in your blog article? If you’re like most online business owners, you understand how important it is to create a blog with content your audience needs.
However, you might be making a huge mistake… offering awesome written content without using any stunning images to break up your text and make your articles easy to read.
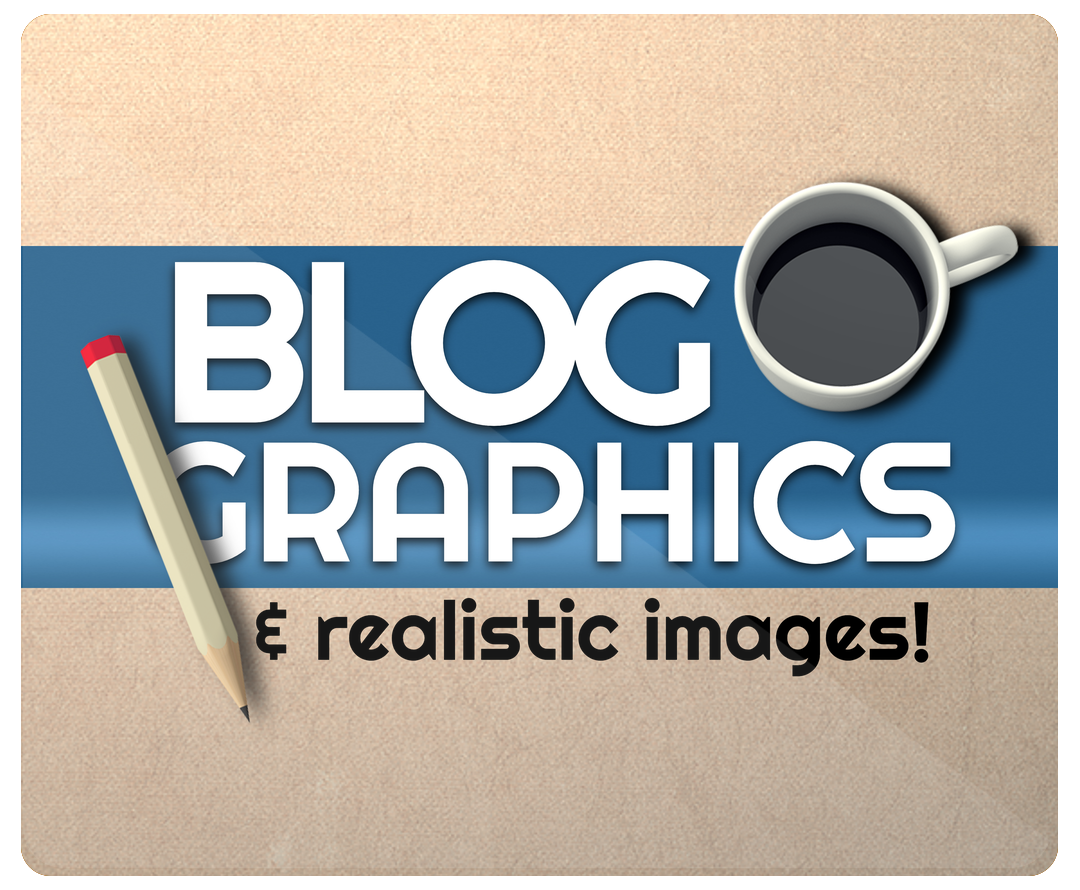
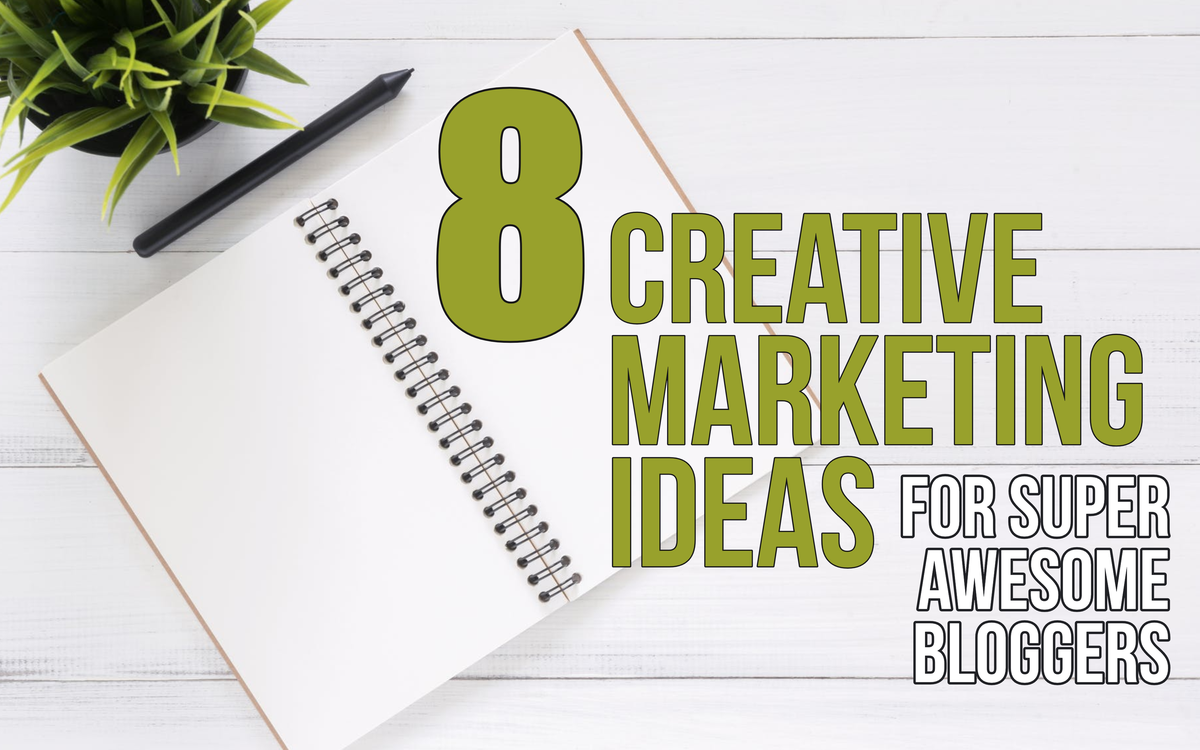
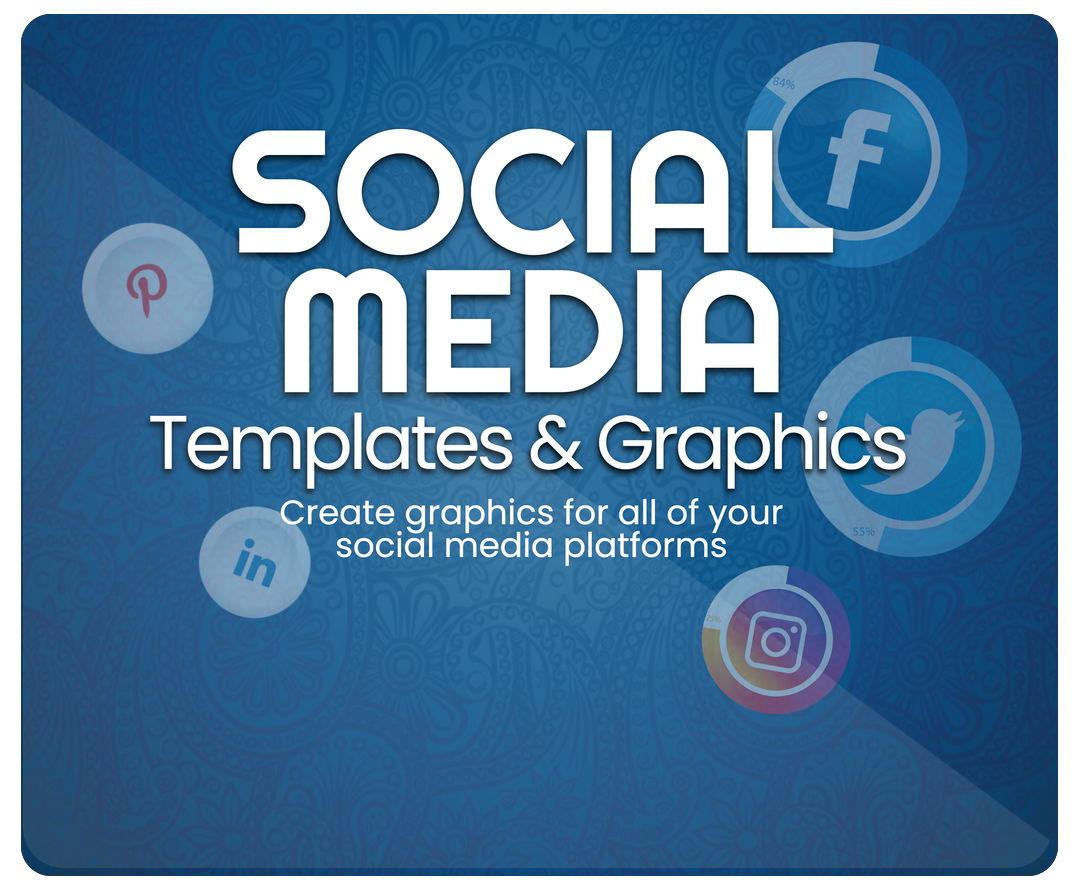
The Blog Graphics templates give you an easy way to make and post great visual content in your articles!
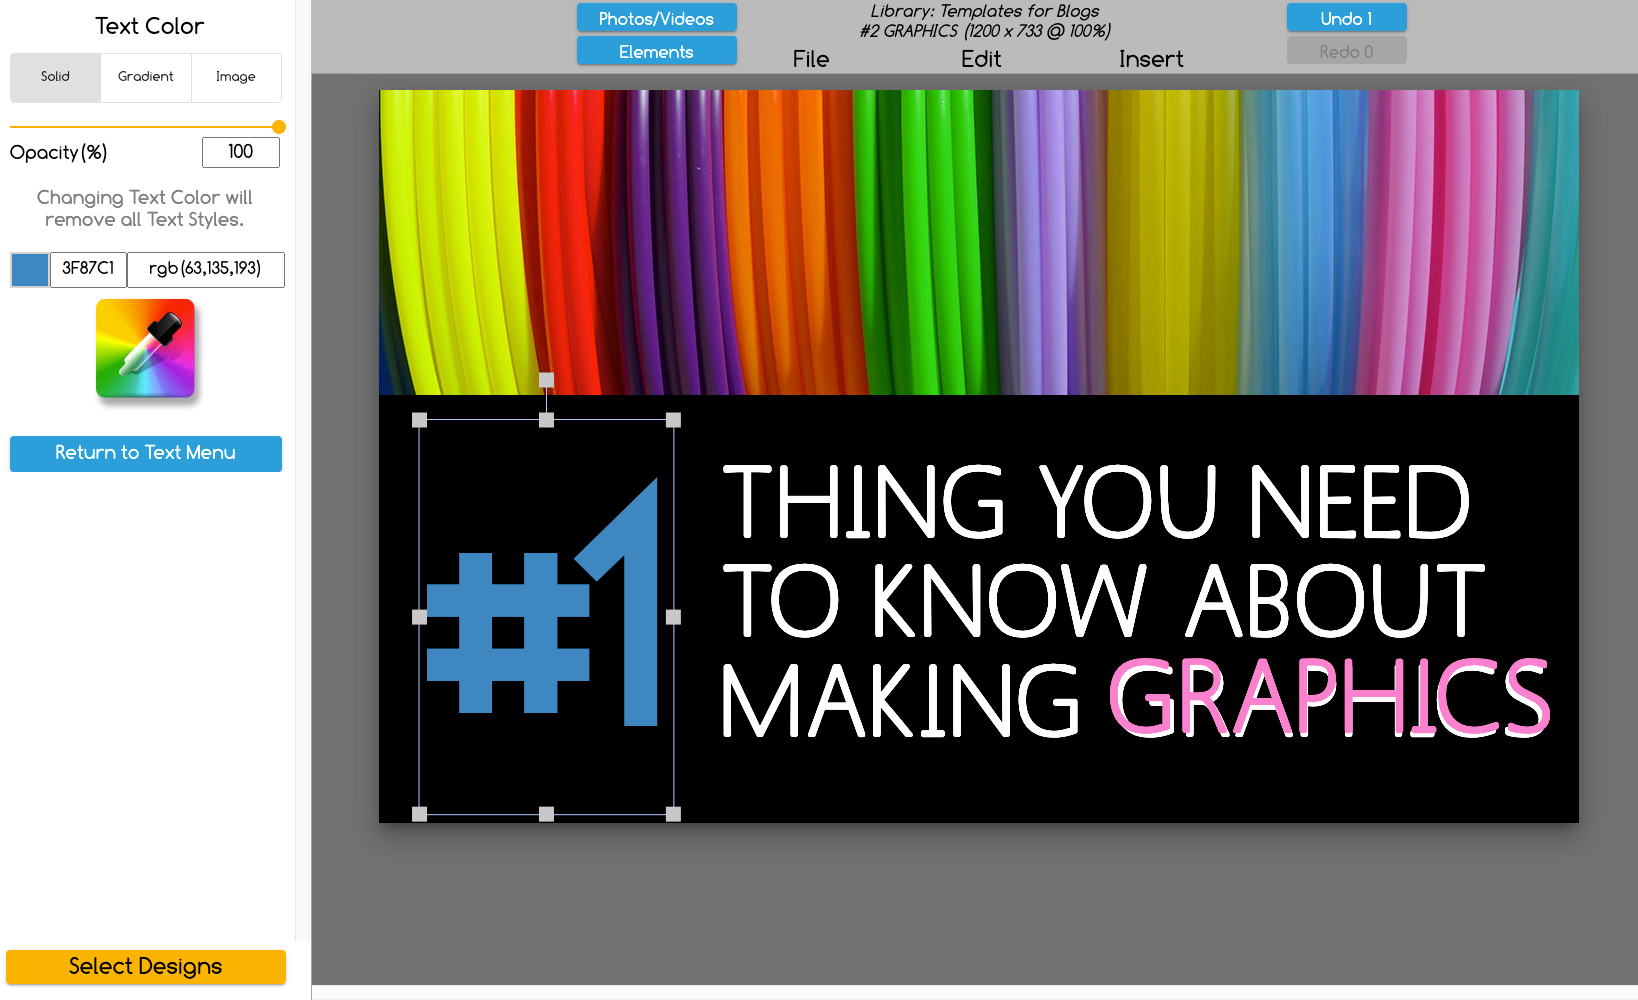
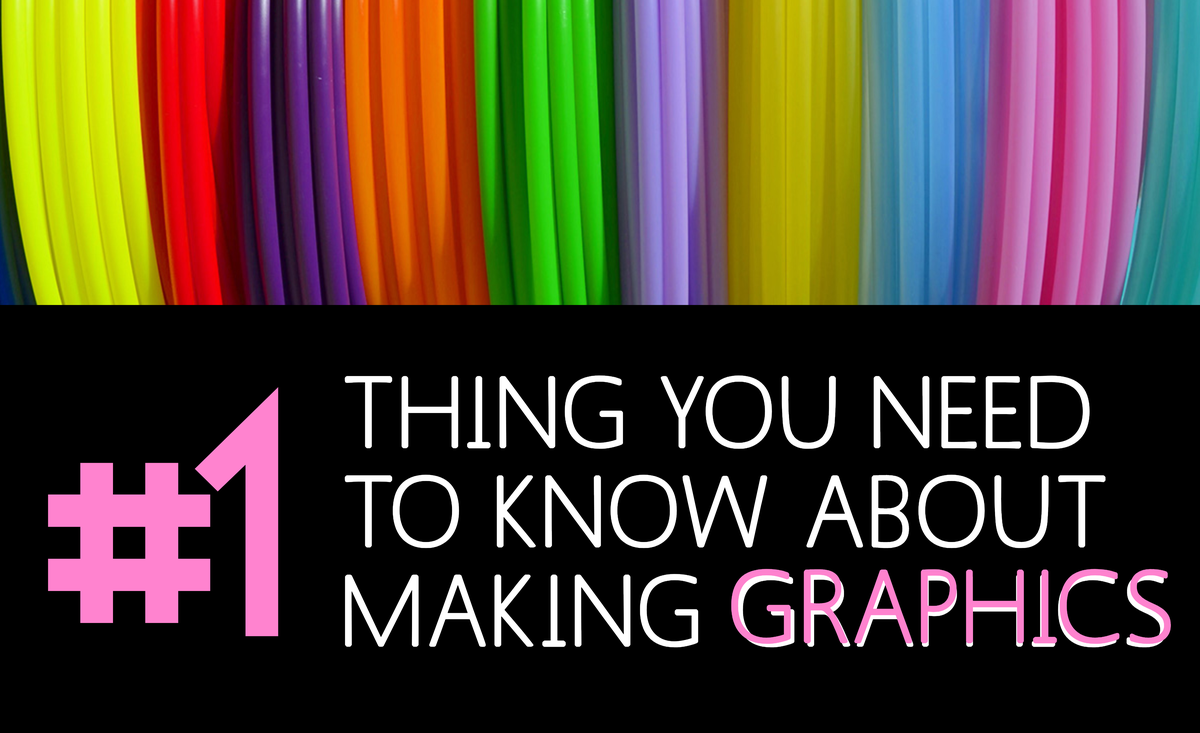
You can use these templates to make featured graphics!
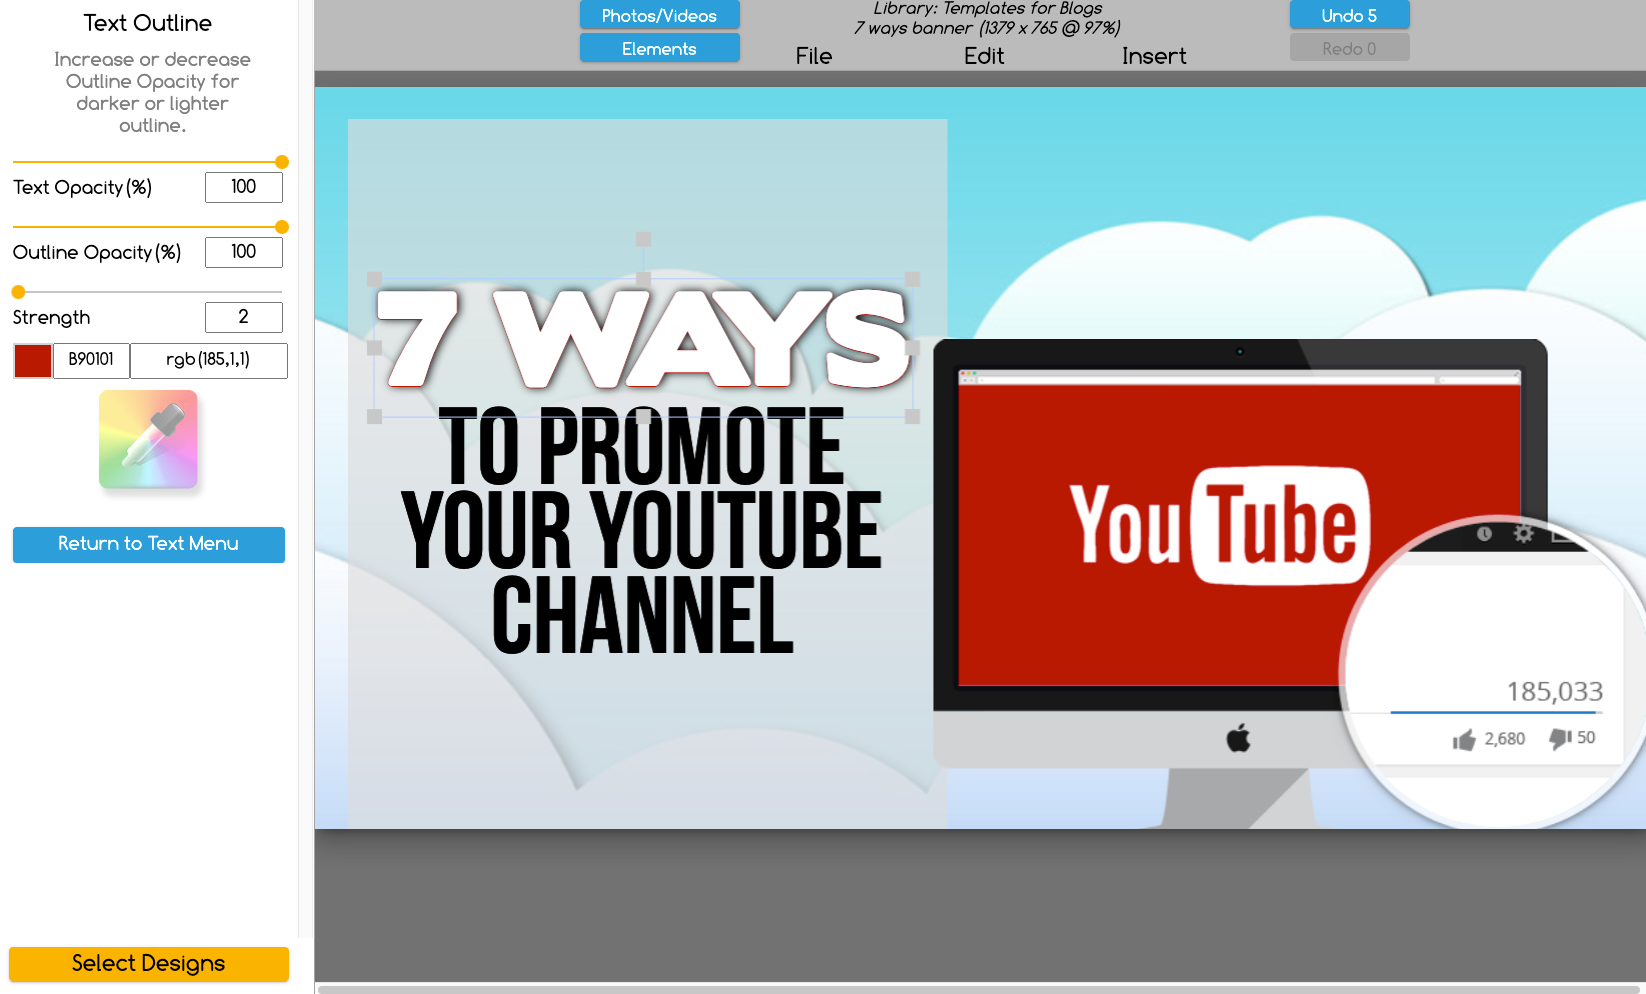
And use them to “explain” an important point (after all, most people only scan an article for useful info), to break up important points into small chunks (so it might actually get read), or to inform or entertain your readers.
Plus, these are great templates for anywhere you need graphics in your biz.
Item Features
- Stunning images to complete your beautifully written blog articles
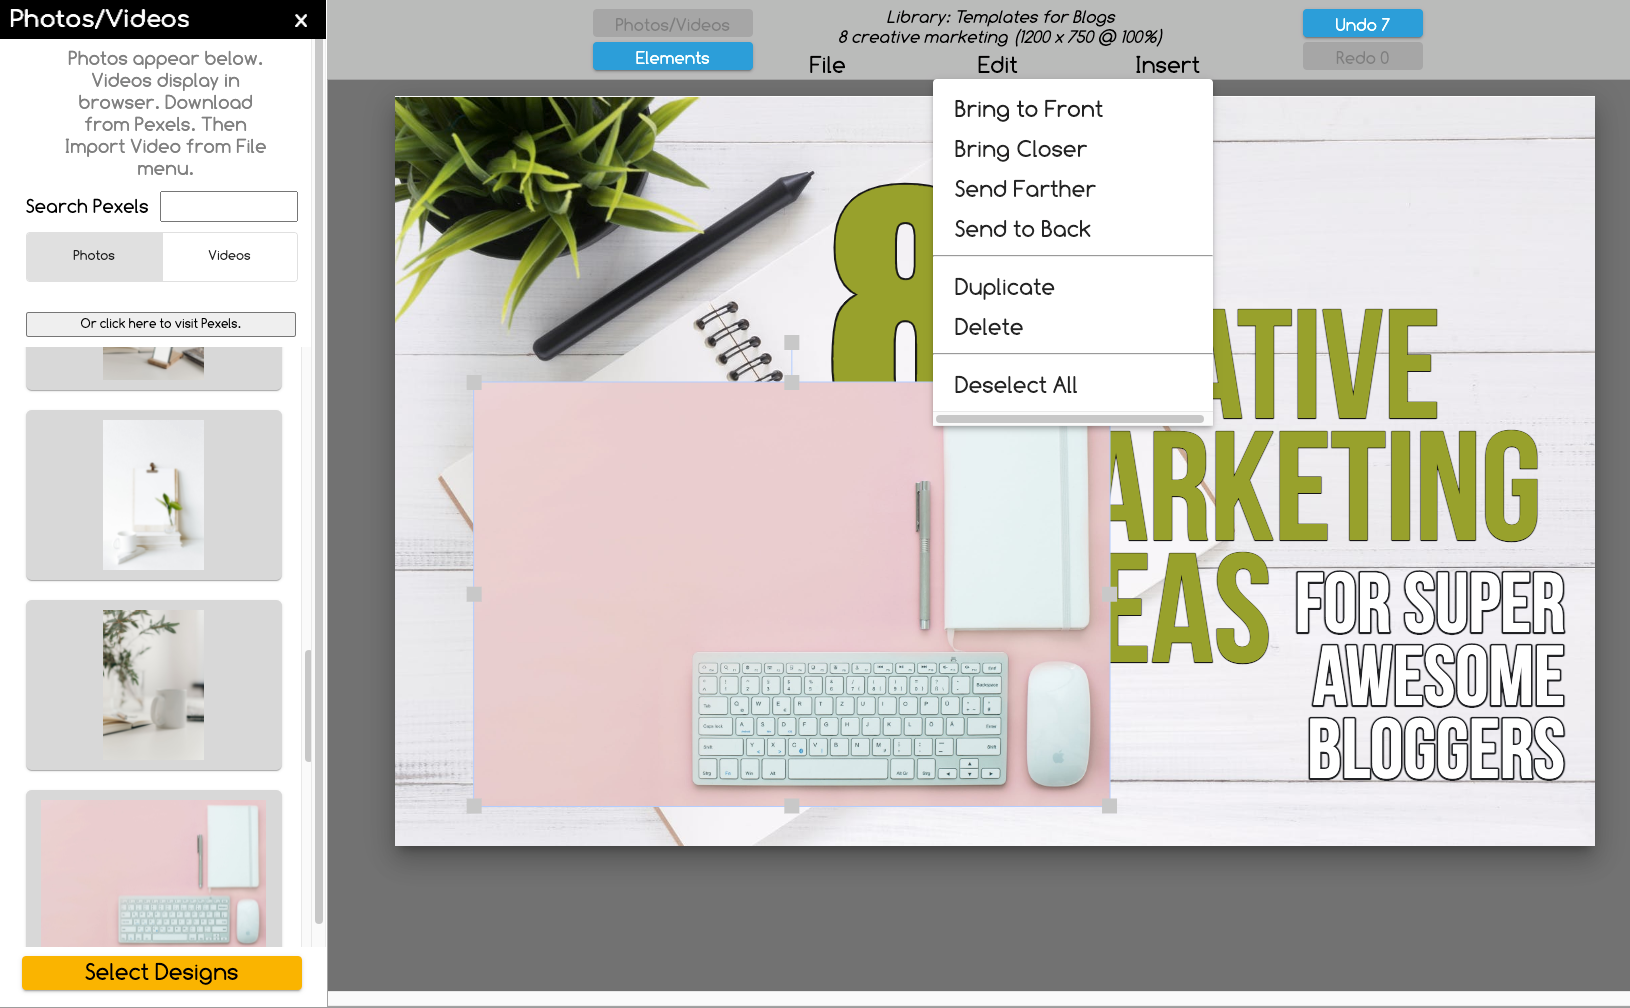
- Make a featured graphic, informational graphic, or call-to-action button to use in each blog article
- 50 template designs
- Hundreds of design elements, including mockups
- Import your own logo, images, and backgrounds (try using a motion background on your blog!)
- Export final design as JPG, PNG, or transparent PNG
- Easy drag and drop design elements make it a snap to get started… and there’s always room to add your creative touch
- Commercial license to resell your creations included!
Specifications
- BONUS: 40 free templates with your very first purchase of any template set
- Use with The Graphics Creator 8 downloadable software: It’s loaded with built-in tools, so you can learn fast and get your design project done in no time
- Win/Mac compatible
- Software download
Reviews
There are no reviews yet.