Creating a Chatbot

https://youtu.be/41e2T-9JEWM When you’re handling your own online business, talking to your customers is often your biggest priority. While this is a bit easier when you’re starting out, once you get 30 or more messages a day, it can get a bit complicated. Here’s where chatbots come in! Consider this…Why do hotels have front-desk officers? They’re the first to make contact with customers. They address concerns before seeking to ‘speak to the manager’. You can do the same thing by hiring customer service representatives. Of course, it can be costly in the long run. So when the idea of an automated system able to handle customer concerns first came out, business and brand owners got excited! The thought of having a “bot” to handle your front desk eliminates a lot of the issues.

What exactly is a Chatbot?

Simply put, a chatbot is A.I. (artificial intelligence) code that “chats” with your customer either through social media channels or other 3rd party channels. The bot can gather information and use said information to sort out concerns and provide preliminary support. The idea is that if a bot can actually answer the questions a customer has, they won’t need to talk to a real person. Exciting as it sounds, chatbot technology can still be considered early in its development stage. But we all know Alexa now… so the tech is improving! Every month, new chatbot technology is being introduced and all of them seem revolutionary.

What You Need To Know About Chatbots

Chatbots are actually a step back in terms of technology. Unlike modern apps, chatbots are quite simple and don’t have any GUI (graphical user interface) experience to speak of. The logic behind chatbots work this way: 1. Chatbot asks for input 2. User inputs issue/concern 3. Chatbot tries to narrow down the issue. 4. Chatbot offers answers based on an issue or concern raised. The simplicity of how it all works is the main reason why it can be used by just about anybody for any setting.

Chatbots can be used to gather information

If you have a business that revolves around gathering information about your customers (with their consent, of course), a chatbot is a perfect way to gather said info. No need to hire one person to do it for you. A chatbot can gather all pertinent information about the customer and it can collate the data for you for future use.

Chatbots can set appointments

With a little bit of tweaking and some customization, a chatbot can handle your appointment setting for you. When paired with an appointment setting services, a chatbot can help your customer set a preferred date for a service or meeting.

Chatbots can showcase your products

While you can just upload photos of your catalog on social media for everybody to see, a chatbot can help out a customer who might get confused while browsing. You can set your chatbot to showcase a gallery of all your products under a specific category. You can even include details about each product and the price. Customers will feel like they are talking to a salesperson who is eager to help point them in the right direction.

Chatbots can help you sell

Are you selling something? A chatbot can make it easier for you to sell your products with minimal intervention. With various customizations available, you can have people checking your products and buying them right within the chat. You can send a blast message to all your followers who opted-in about new promotions or special prices.

Chatbots can be added to your funnel

If you already have a marketing funnel in place, you can add a chatbot into the mix to get even more customers from social media. Depending on the funnel you have, you can set the chatbot to convince your customer to make the next logical move down your sales funnel by providing them with solutions and relevant information about your product or service.

Chatbots can help keep your customer happy

Chatbots aren’t all about making a sale or showing your product. A lot of chatbots out there also have the added benefit of being fun. For example, you can give your chatbot a specific voice or character. You can make your chatbot male or female. You can even make your chatbot tell random jokes every now and then. The possibilities are endless.


There’s a lot of information out there about chatbots and a number of platforms that can help you create your first chatbot within minutes. I dare you to explore and discover other things you can do with chatbots. What other things do you think chatbots can do in the near future?

Now, go out and build your own chatbot!

(it’s easier than you think)

One way to stay competitive in modern business is to automate as many of your processes as possible. Evidence of this is seen in the rise of self-checkout at grocery stores and ordering kiosks at restaurants. Click here and start creating your own chatbot today! You can also learn a ton over at ChatbotLife.com… it’s a full (and totally free) resource to get you up to speed on what a chatbot is and how to create one.

Full Disclosure: We’re working on our own chatbot using Collect. Chat for our own business here at Laughingbird Software – the links above ARE affiliate links and we do get a small commission if you decide to buy. But we wouldn’t recommend this product if we didn’t use it ourselves.

How to Create Your Own Custom eBook

If you’ve been marketing online for more than 5 minutes, you know that lead magnets, eBooks and reports are powerful ways to build your list or sell directly for profit. But you also know they’re a serious headache to create too.

Finally, there’s a NEW way of creating beautiful eBooks…

Watch the video above and get some great ideas on how to easily create your own eBook or Newsletter content

Click Here and start creating your own eBook with SQRIBBLE

(not just the COVERS for your eBooks and Newsletters… but the full on eBOOK!)

If you’ve been marketing online for more than 5 minutes, you know that lead magnets, eBooks and reports are powerful ways to build your list or sell directly for profit. But you also know they’re a serious headache to create too.

All that writing, designing, and formatting… UGGHH. Enough already!

Creating the content for my own eBook was easy (watch the video above to see how I did it) … but when I tried to figure out how to format, and make my book LOOK good, it really wasn’t as easy as I had hoped it would be. I did it, but it took way longer than I wanted it to!

That’s why a new product recently caught my attention — it’s called Sqribble and it’s an online tool that instantly creates professional eBooks, reports, whitepapers and other types of digital books with a few clicks or taps.

This concept isn’t new. There have been a lot of different eBook creator tools in the past. But if you’ve used most of them, you’ll know they all share the same frustrating flaws:

— They have crappy templates.

— They are buggy and unreliable.

— They often require additional tools

What is Sqribble?

Sqribble is different. It’s packed with professional templates and seriously good looking covers. In fact, the whole process of creating an eBook with Sqribble is satisfyingly easy and smooth.

Heck, it’s FUN.

But perhaps most remarkable of all… Sqribble comes loaded with some of the most powerful features I’ve seen in an eBook creator tool.

Here are just some of the things it can do:

— Automatic table of contents

— Automatic headers and footers

— Automatic pagination

— Drag and drop design

— Add or delete pages

— Add your own media

— 300+ Google Fonts

— 50 eBook templates (in 15 different niche categories)

— 10 different eBook themes

— Automatically create content (woah.)

— Turn your book into a flipbook (double woah.)

Seriously, if that’s not enough to make you want to check this thing out, I don’t know what else to say. Apart from this — Sqribble isn’t perfect. Yes, it’s powerful. Yes, it’s going to save you tons of time and money creating eBooks. But…

What I don’t like about Sqribble

The upsells. There’s 4 of them! It’s kind of annoying because they’ve saved some of the best features for them. So, you’ll have to spend some time figuring out if you need them.

Well, Sqribble is a great product without the upsells… BUT if you want greater power, you might want to grab them all.

Here’s a rundown of the upsells:

Upsell 1 — Sqribble professional.

Unlock 150 more professional eBook templates (the best ones are in the professional version), graphics and even more ready-made content for all kinds of niches (just so you know, single templates from stock websites would cost you up to $450… for just ONE template!). Great for those that want more variety & content as well as heavy users.

Upsell 2 — Sqribble Prime.

Get 15 premium, “limited edition” new eBook templates added to your Sqribble dashboard every month. This will increase your library over time, and make you stand out from other users. It works out to less than two bucks for a template (much cheaper than stock sites)! Great for moderate to heavy users.

Upsell 3 — Sqribble Fantasia 3D.

This includes 2-in-1 features.

1.) Unlocks a 3D cover creation tool inside your dashboard, allowing you to turn “flat” covers into lifelike, 3d covers. Great for getting more attention and making your books look and feel more “real.” People do judge a book by its cover, after all.

2.) Create “Flipbooks” that turn your eBooks into interactive and animated pages. They can be linked to from anywhere online, as well as embedded on web pages with a single piece of code. This is really cool.

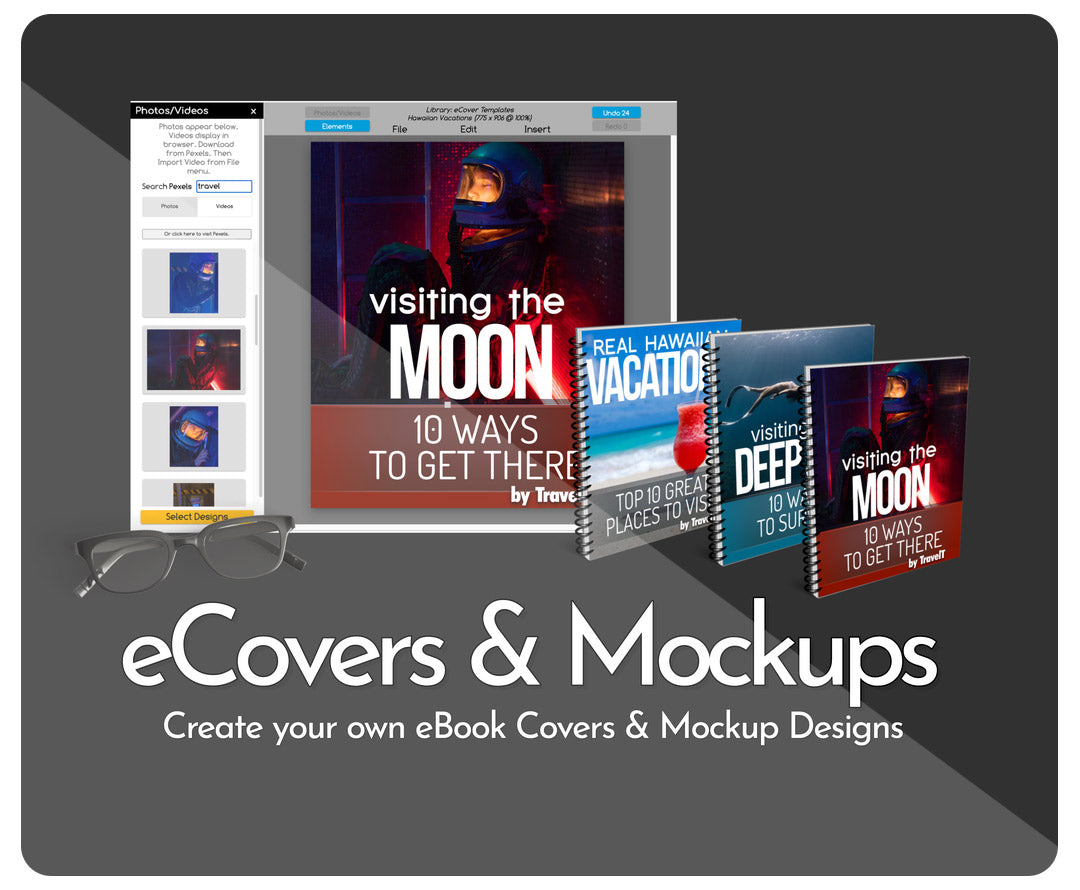
OPTION to this upsell: Get a ton of eCovers and Mockup graphics, as well as other easy-to-use graphic design templates in The Graphics Creator.

Upsell 4 — Auto Job finder software.

If you’re going to be using Sqribble to create eBooks as a service to get paid, then Auto Job Finder is something that you need. It will automatically find you related jobs across various freelance websites and notify you so that you can fulfill them. A huge time saver and money earner.

What I love about Sqribble

Without a doubt, it’s the pro designs, the simplicity and the speed at which you can create seriously awesome eBooks, on the fly.

And the fact you can turn your eBook into a flipbook is just icing on the cake. It just makes your books look and feel more “real” and that’s a good thing for engaging your readers.

The amount of customization is just off the charts too. You can tweak your designs, layouts, and everything in-between to your heart’s desire. It even creates a table of contents for you and inserts all your content into a nice layout. Additionally, you can play around with the formatting and design, add stuff, delete stuff… it’s only limited by your imagination.

But if the idea of too many options scares you… don’t worry. Sqribble is designed to keep things simple. You can just go with the ready-made templates, layouts and styles, insert your content automatically, and boom… you’ve got a pro eBook that’s going to grab more attention, build trust, engage your readers, and help you stand out in a sea of competition.

About the creator

Sqribble has been developed by Adeel Chowdhry, who is a well-known internet entrepreneur and best seller, with over ten years of experience and has previously created worldwide hits such as Pixel Studio FX which sold tens of thousands of units all around the world. He’s known for creating high-quality professional solutions and I expect no less from Sqribble.

Final thoughts

The standard has risen online. These days, your eBook can’t look like crap, or people just won’t want to optin, buy or read it. And because people are busier than ever, they will only spend a couple of seconds deciding whether your book is worth reading or not.

With Sqribble, you can instantly create books that scream trust, credibility and value, and attract more subscribers and sales.

Creating eBooks has always been a pain for most marketers, but with Sqribble, it really doesn’t have to be. With a few clicks, you can choose a template, add content, tweak the layout and then publish online… in just minutes from now.

Instead of spending hundreds — or even thousands — on freelancers, or even more money on fancy software, I would seriously recommend giving Sqribble a test drive first. I think you’ll be amazed how powerful, easy and quick the whole experience is.

Click here to check out Sqribble now

Designing for Social Media- Web Graphics Creator

Professional-looking designs are essential for success on any social media platform.
Meaningful graphics will not only attract an audience, but they’ll also keep your audience engaged.

Find out what content to post and how to design for social media.

Designing for Social Media

Just follow these five simple steps to create your social media designs…

#1 Plan ahead:

Keep in mind that social media design should be well-planned in advance. Your intent should be to capture the attention of your target audience and then provide tremendous value.

Therefore, a design should be sharp and visually interesting as well as add meaning to your post’s topic.

Let’s face it. Getting your customers to read your entire post is a challenge… many other posts are competing for the attention!

However, by including an image that summarizes your topic, or provides a look into the value you offer, your followers will be more likely to continue reading.

With amazing graphics, your product or service will easily compete with other social media posts.

#2 Find out what size your design should be:

Each social media platform allows different post sizes. Find out what size your graphic or image should be for each platform BEFORE you’re ready to post. There’s nothing more frustrating than having to re-do a graphic because it was the wrong size.

So, stay up-to-date on the image sizes you need for each platform.

You may need to use a variety of sizes for the same design. Or, you may wish to design totally different images, based upon what visual content works best for each social media platform.

With the Web Graphics Creator, you can use the same design in different sizes, saving each one of them for future use.

#3 Choose which type of image you’d like to share:

If you’re on several different social platforms, you’ll probably use a variety of image types. You can design or mock-up all of these images in the Web Graphics Creator. You just need to decide which visual design works best for you: Screenshots – Simple screenshots of your website or product are a powerful way to share information about your company. If you don’t feel comfortable enough to share these images, it’s time for a new web design or re-organization of information on your site. Action Shots – Use photos or graphics to show your product or service in action. How does it work? How will it be helpful to your audience? Can you make it look exciting or show how it’ll solve your audience’s biggest problem (great idea for Facebook posts and paid ads)? Behind-the-scenes photos – Here’s an opportunity to give your followers a glimpse of who you are, as well as your brand. This helps your audience feel that they know you… and therefore trust you. You can show pictures of how you create your products, what your employees do on their break, or a personal look at what you do in your spare time (a glimpse “behind-the-scenes” is an all-time favorite type of post on Instagram). Quotes – Motivational quotes make a great social media post because they’re quick, encouraging, and hopefully, beautiful to look at. A quote can get your audience’s attention not only because of the encouraging or humorous message, but because it’s pleasing or fun to look at. Therefore, using a sharp graphic along with a complimentary font is necessary for a successful social media post (quotes are used in just about every social media post out there). Infographic – Everyone loves to learn something new. But that doesn’t mean they’ll read an entire article! That’s where infographics come in. Just the right amount of information, along with a pleasing visual design, will make your infographic shareable (Pinterest infographics are quickly re-shared). Motion graphics Think you can’t create an awesome motion video design for social media?! The Web Graphics Creator gives you video templates and animated gifs that you can easily export. You can even import other videos into the software (video works great on Instagram, Facebook, and Twitter). Good news: Each social media image type can be easily created with the Web Graphics Creator. Just use the already sized, pre-designed templates. And don’t forget to include your logo design and/or website address on every image!

#4 Create your image:

Okay. So, you need to create professional-looking social media graphics… but you’re not a designer, right? That’s okay. You can and design for social media in minutes. Here’s how to start: Log into your account, & select a “social media” template. You’ll likely find the size & design you need immediately. If you’d rather use one of the other 900+ templates that are sized for blogs, ads, banners, etc…, just type in the canvas size you’d like to use first. Use the File menu to “Save” your design.

#5 Use your new design for multiple social platforms:

Now that you have a completed design for one platform, you may want to modify it slightly for another platform.

In the Web Graphics Creator, select File > Save As and enter a name for your new template and a “set” location (like “Lisa’s social media templates”).

You’ll see the name of the template change on top of the screen. Now you can modify it as you’d like and simply “Save” when you’re done. Here’s an example of a Facebook graphic modified into a Pinterest image:

Here’s some more good news…

You can design social media graphics every day, easily, and save a ton of money. Create a design you want, when you need it… no waiting around for an image that you hope you’ll like. And there’s no need to spend a lot of money!

Check out all of the helpful features The Web Graphics Creator has to offer. These include royalty-free stock photos, over 1000 fonts, motion graphics, and much more.

You can do this even if you’re not a designer… plus, you’ll have complete control over your visual content and save money.

How to Increase Blog Traffic with Pinterest


Every blogger needs to be using Pinterest to gain maximum traffic to their blog. Period. At a 2-million active monthly users, Pinterest may be way smaller than the social media giant, Facebook. But it has clearly become one of the most useful platforms for bloggers as well as small business. This is because using Pinterest can actually increase your blog’s traffic exponentially. To learn how to increase blog traffic using Pinterest, read on…

How does Pinterest increase blog traffic?

Pinterest has less competition as compared to Facebook. A pin’s half-life span is 1,600 times longer than that on Facebook. That means even if a pin or your post was first published months ago, it can still drive traffic to your site.

Pinterest analytics will help increase traffic by letting ou know which pins are actually being clicked on, saved or shared.
Check out the average number of viewers… over 600,000, with 21000+ clicking on or saving pins from Laughingbird Software each month!

Just imagine each pin you share still getting pinned five or six months later. As long as you’re sharing evergreen content, your pin can be re-shared all year long… and then some. That’s why creative entrepreneurs love using Pinterest. Traffic can be repeatedly obtained just through one pin! This is great news when we compare it to the short life of Tweets and even Facebook posts! And check out the stats: One out of two US millennials is now using Pinterest, of which 7 out of 10 are women. They use it more than Twitter and Snapchat. While there are clearly more women using Pinterest, more and more men are coming on board. In fact, 40% of new users are men. That means if your blog is targeting males, you have an increased chance of reaching them.

But what you really want to know is how to increase blog traffic with Pinterest?

Follow these steps to start driving traffic now:

-First, you must set up a Pinterest Business profile.

If you already have a Pinterest account, you can turn that into a Business profile. If not, you can “Join as Business” while setting up an account. This gives you the opportunity to verify your business and then get data analysis showing how Pinterest is bringing traffic to your site. This will help you determine which pins are working and which aren’t. You can then create a pinning strategy based on the gathered information.

-Next, optimize your profile and pins.

Pinterest works much like a search engine and you should, therefore, treat it as one. Create relevant keywords to use in your profile, such as in your bio, title, and perhaps even your username. Create each pin and then add keyword-rich descriptions and even hashtags. Most importantly, add a link to each pin. Your followers are expecting to be directed to your blog article or website once they click on the pin. Make sure your pins correctly link to the desired page. Otherwise, you won’t be getting any traffic directed to your blog! Create your pins, including video pins, with The Graphics Creator’s Pinterest templates: https://www.laughingbirdsoftware.com/downloads/pinterest-templates-with-video-pin-design/

-Then, further optimize your pins to drive the greatest traffic!

Rich pins have additional information visible on the pin itself. For example, when you click a pin of a food recipe, you might actually see the ingredients and instructions for making it. Often, the rich pin includes at least the name of your blog or website. Pinterest can show you exactly how to do this. Once you’ve connected the rich pins feature, the absolutely #1 most important thing to do next is to create beautiful, traffic-increasing pins that pinners will notice and want to click on. First, note that vertical pins tend to get more attention than rectangular images. That is likely because they take up more space on the feed than horizontal ones. They are also bigger and allow you to add more information on the pin. Apart from that, make sure your pins look visually great. The design and title of each pin should be created with your viewers in mind. It should contain information that you know your target audience will love. Keep it niche specific as well.

How to increase blog traffic with Pinterest.
Design beautiful pins to increase traffic to your blog!

Most influencers on Pinterest create their own pins. It’s affordable and fast using simple graphic design templates. Use a tool that already has Pinterest-sized pins and is easy to modify the text and image. The ideal size for a vertical pin is 600px wide x 900px high. There are lots of different designs you can use to help your pin get the attention, and the traffic, it deserves. Make sure your design looks clean and uncluttered. Use only one to three colors, as well as one to two fonts max. You’ll soon see that there are certain pins that’ll make it clear how to increase blog traffic with Pinterest, and others that simply don’t make the grade.

-Create boards and join others’ group boards.

Boards are a way for you to organize your pins. These will help you categorize the pins you own and the pins you save from the Pinterest site. You can also create a secret board where you can hoard your pins for later publishing. These secret boards can only be seen by you. Group boards, on the other hand, are very similar to your own. However, there are multiple pinners that contribute to the group. This is a great way for your own pins to reach other users from the same niche. When they repin your post, there are more chances that their followers will re-pin it as well.

Your Pinterest profile can include mutiple boards focusing on many different topics which will help grow your blog traffic.
Using multiple boards with different topics is one way how to increase blog traffic with Pinterest.

-Finally, in order to gain maximum traffic, consider using paid advertising through Pinterest.

By paying for a pin to get more reach, you’re bringing a bigger audience to your own Pinterest account and website. There can also be a snowball effect, where some pins get more reach, repins, and engagement than what you paid for. This is because re-pins will be broadcasted on an individual pinner’s account. Therefore, there’s an even great chance of other people seeing your pins. Unlike other social media platforms, engagement does not usually happen immediately on Pinterest. It gradually builds after 24 hours or more but may take weeks to ramp up. Don’t sweat it! Instead, use these steps to focus on how to increase blog traffic with Pinterest. Create something that people will gladly share and your traffic will increase! Find out how to make your own Pinterest pins daily using the Graphics Creator and Pinterest templates: https://www.laughingbirdsoftware.com/how-to-make-stunning-pinterest-pins-diy-in-minutes/

How to increase your blog traffic using Pinterest. Follow these Pinterest tips.
Share with other bloggers on Pinterest!

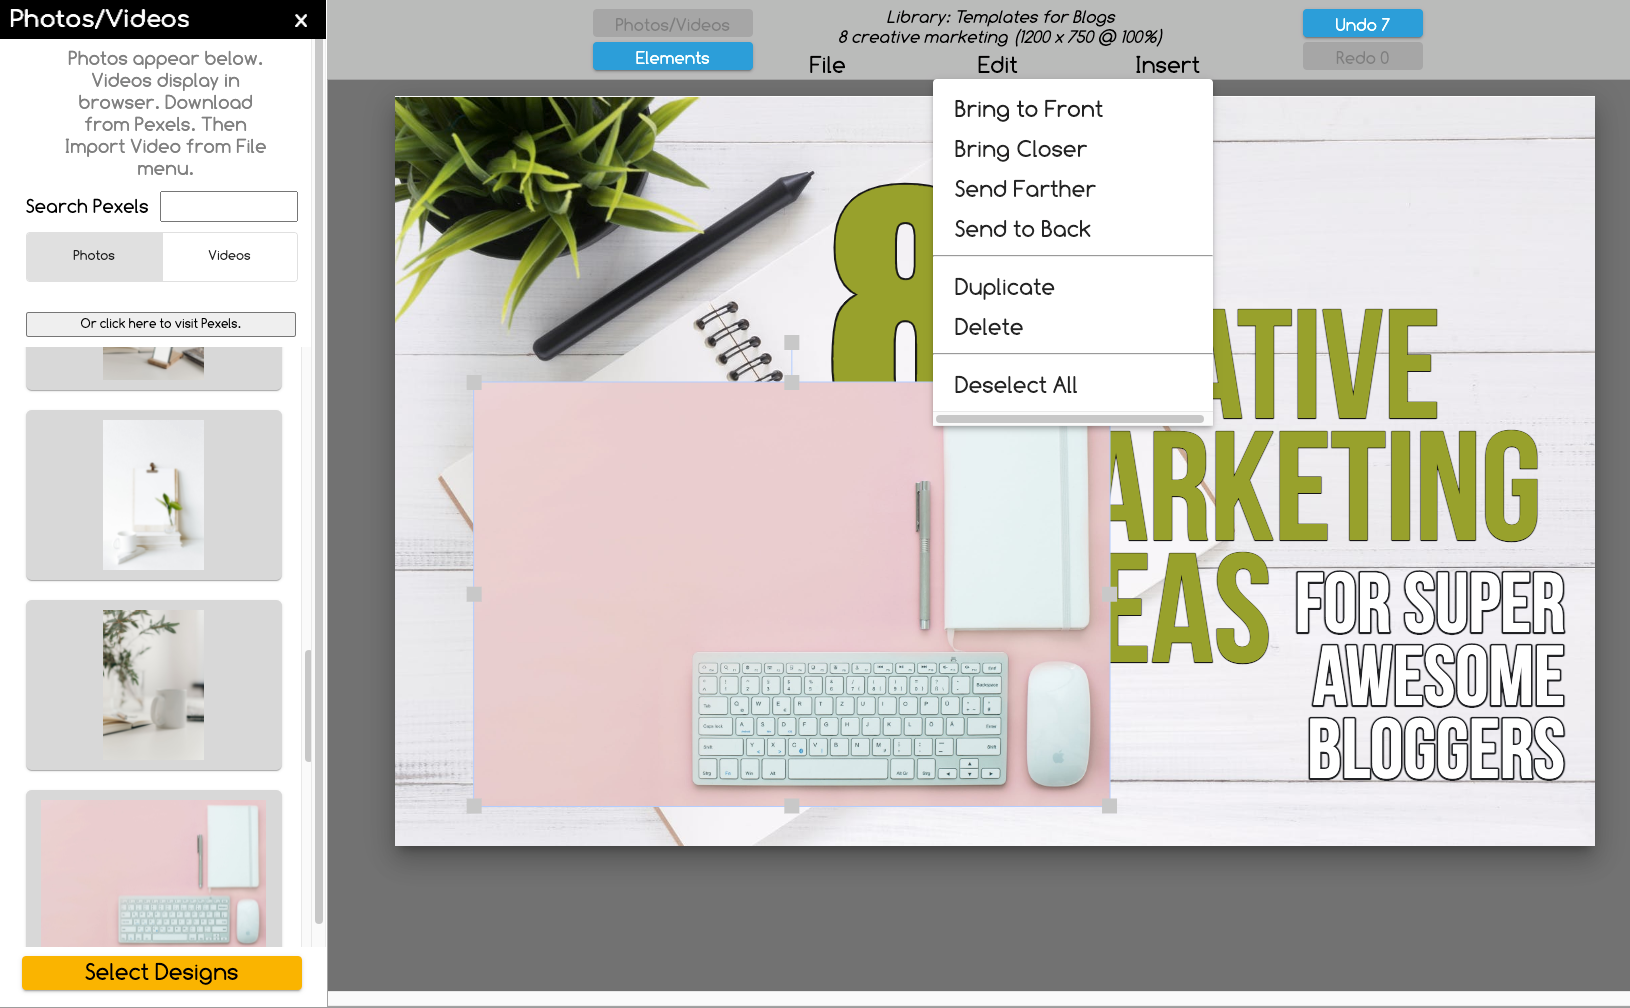
Create Background Designs with Layered Images

Learn how easy it is to create 3D background designs with layered images.

Bet you didn’t think you could ever create amazing background designs on your own 15 years ago, especially using layered images?

Now, with all the tools that help you edit and create images, you can do it… all by yourself.

9 Marketing Automation Tools for Small Business

Is marketing your small business keeping you from other important tasks?

Finding great tools that can automate your marketing and free up time for production, customer service, finances and more can make entrepreneurs’ lives much easier!

The key for small businesses is to use the best marketing automation tools out there.

These 9 tools can help you automate multiple areas of your business, saving you a ton of time and helping you to focus on increasing your sales.


HubSpot

HubSpot is basically an “all-in-one” tool and describes itself as “inbound marketing software”. It’s a robust sales and marketing solution, Not only is it a great resource for small business owners, it uses real-time marketing data to help you generate leads and sales.

HubSpot does a little of everything, just not as in-depth in any one area. So, if you’re looking for convenience, this may be the tool for you. You’ll get the basic functionality of multiple marketing systems. You just may not be able to go as in-depth with, for example, email marketing list segmentation, as some other automation tools.


Pabbly

One platform to automate all your integrations With Pabbly Connect, you can create automated workflows and transfer the data between your favorite apps and services without any manual efforts.

Pabbly integrates with 600+ Applications!
Pabbly Connect supports all the popular apps for CRM, Marketing, E-Commerce, Helpdesk, Payments, Web forms, Collaboration and much more…

It’s very impressive.
See more about them here: https://www.pabbly.com/connect/


Adplorer

Adplorer is an all-in-one local marketing software for digital marketing. This automation software will help you manage your local marketing campaigns more successfully, organize your processes and automate virtually all aspects of your work.

The technology from Adplorer enables you to scale marketing campaigns across thousands of Small and Medium Businesses. You can use Adplorer to automate the creation and management of your campaigns on Google, Bing, and Facebook, as well as manage Social Media platforms and Reporting all in one platform.


DRIP

Focused primarily on email marketing and list segmentation, Drip.com is one of the most important automation tools on this list. One reason… you MUST have a way to automatically follow-up with your audience!

What if you collect an email but this person doesn’t purchase? You’ll want to “segment” this person to a list that’s different from someone who did make a purchase. You’ll want to say something different to each of them, right? And, with Drip’s “intelligent” workflows, you’ll get to know your customers better, leading to more sales!

LaughingbirdSoftware.com uses Drip because of this amazing flexibility and customizability. You’ll easily learn about your subscribers and website visitors by applying custom tags, fields, or “events” to your customers… and Drip is fantastic at helping you understand it all!

Finally, you can use Drip with many of the different hosting and web technologies you already use. Best of all, you can start using Drip for free!


Hootsuite

Hootsuite has been a top social media marketing automation tool for many years. You can enhance and automate your social media content across more than 35 global networks such as Facebook, Instagram, and LinkedIn.

Hootsuite is perfect for individuals who want to manage multiple social networks, schedule content, and automatically engage with their audience when and where you want.

With their free plan, you can manage up to 3 social media profiles (with only one password) and use basic analytics to track the growth of your followers. Additionally, you’ll get to schedule up to 30 messages, integrate apps you already rely on and have 2 RSS feeds (which find and share content for you).

Hootsuite identifies social influencers in your market and automates social marketing strategies. You can sign your business up for Hootsuite’s free plan which supports up to three social profiles and two campaigns for single users.


Spokal

Spokal says it will “double your social media traffic with a sharing tool that learns”. Best used for automating social media and blog content, it can save you a ton of time. You can actually search for and drag images directly into your blog posts (and images are royalty-free, even if you are a small business)!

And you can share your content fast! It certainly helps that Spokal generates “tags” to your content automatically! This tool also automates OpenGraph and Twitter tags from your own social sharing.

This software also has a built-in image editing tool, on-page SEO advice, editorial calendar, SEO and keyword tools, and even allows you to use external contributors. Plus, in their analytics functions, they’ll calculate your return-on-investment as well as track your Google rankings and your blog’s performance results.

Finally, if your small business uses WordPress, then Spokal’s automatic marketing platform might be right for you.

Try it free for 14 days!


SalesAutopilot

There’s a good reason this marketing tool uses the term “autopilot“. It offers a wide range of digital services for small business owners including a Help Desk module that will automate your customer support! You’ll get support ticket tracking and customer feedback.

It offers several modes of marketing communication, such as email marketing, as well as captures leads from multiple websites. Besides taking care of invoicing and payment, you can look at sales data, job completion times against budgeted hours, past-due invoices and more.

Once set up, you can get rid of the manual work that typically comes along with the communications side of your business! Further, SaleAutoPilot can be integrated with Zapier (next!).


Zapier

Zapier’s focus is on small business services and creates automated workflows known as “zaps”. Basically, it’s a tool that helps any entrepreneur connect apps and the services they use, allowing automated functions.

The automations are like commands having an if/then format. For example: “If I write a new blog post on WordPress, save a copy of that file to Dropbox.” The amazing thing about these automations, or zaps, is that no coding experience is required to create them.

Zaps are now possible between three or more apps and services. Although Zapier’s free account is limited in functionality, you’ll get a feel for how it works. Further, Zapier’s automations support several business apps and are easy to use. This makes it one of the most useful marketing automation tools for online entrepreneurs.

Small businesses can save a ton of time using any of these online marketing automation tools. And because you can’t successfully market without images and graphics, check out our bonus tool to make life a little easier:


graphic Creator Software Image

The Graphics Creator

IMAGINE IF YOU COULD USE JUST ONE EASY TO USE DESIGN APP TO CREATE:
eBook Covers • Logos • Business Cards • Graphics for your YouTube Channel (sized perfectly) • Mascots for your brand • Coupons & Certificates • Graphics with Motion Backgrounds and so much more!

This will help you automate your blog posts, Facebook ads, and even your YouTube channel if you have one.

The Graphics Creator In The Cloud
Just log-in online and quickly modify a graphic. You have to see it to believe it, but with 1,200+ unique template variations, you’ll find what you’re looking for right away. Then use the graphics in your social media and marketing for attention-getting automation!

Whether you need a character mascot or a logo design, The Graphics Creator provides easy tools and templates so that your small business (or even big business) will be able to reap the rewards of beautifully designed images.

Use the Graphics Creator now!


This article contains an affiliate link for “Drip”, the email automation system we use and love (and believe me, we’ve tried many!). If you decide to make a purchase after clicking on it, we may receive some compensation 🙂

How To Create a Meme With The Creator7

Did you know that almost 10,000 people search for a way to create their own “meme” each month? 🙂

Hi everybody! I’m back with a brand spankin’ new Tutorial Tuesday video! In today’s tutorial, you’ll learn how to use The Logo Creator as a ‘meme’ making tool.

A meme is simply a photo with some text over it. Usually this text is a nice quote or a funny caption. This tutorial will show you a great way to get FREE images and find some great quotes to go with the images for you to sell or give away as incentives on your website… it’s all really easy!

In this video, I show you a few graphic design resources.

One of them is a website called “Morgue Files”: http://www.morguefile.com

The other item I mention is the Keyword Planner tool from Google.(It’s a great way to see how many people are searching for a specific keyword):https://adwords.google.com/KeywordPlanner

Create and Sell Your Own Logo Templates

TODAY’S TUTORIAL TUESDAY VIDEO IS ALL ABOUT CREATING AND SELLING YOUR OWN TEMPLATES

In this tutorial, you’ll learn how to create your own templates with The Logo Creator… and resell them to sites like Fiverr and Etsy.

Create a Buy Button with The Logo Creator

Hi everybody!

Here’s a video I created a while back. It hasn’t been seen much (since it’s one of my earlier “How To” vids)… so I wanted to bring this back into the light. It’s a good one. It’ll give you a few new ideas on creating different images for your website. https://youtu.be/iaBbr5QF4qk And we now have a cool https://www.laughingbirdsoftware.com/downloads/buttons-banners-and-badges-elements/ buttons, banners, and badges elements set to check out.

Creating Cool Text Effects with The Creator Graphic Design Software

Text Effects That Make a Statement

Is it time to add a little pizazz to your logo design? Consider these quick and easy cool text effects.

Seriously, consider all the logos based on text only: Disney, Oreo, Coca-Cola, and Subway, just to name a few.

Maybe you didn’t study graphic design, but we can probably all agree that boring Helvetica Font isn’t likely to make a lasting impression, especially on the web where stimulating graphics compete 24/7.

However, making the text the main feature of your logo or graphic, when given a unique twist, can convey your brand identity and give potential customers a message about how you do business: Straight forward and professional? Fun and exciting? Motivational?

Example Logos

Below are some quick ways to create cool text in your logo and make your desired statement. Each idea comes with an example of a logo that is primarily text-based.

Outline- Just by outlining letters, you can make some pretty cool text and define what is important at the same time; primarily, the name of your company or brand which is what you want to stick in consumers’ minds! Using a narrow outline in black, gray or white could provide a subtle statement.

However, a wider outline in a variety of colors can provide a bold message and draw attention.

Shadows- Shadows will bring out the professionalism in your logo without a doubt. Have you looked closely at professional logos to see if they use a shadow? Go ahead and look around the web.

A great shadow is so subtle that it wouldn’t be noticed unless you were actually looking for one…and who does that? However, because of its subtlety, a shadow adds depth and a look of professional competence. What company wouldn’t want that?!

Swoosh- Add a strategically placed swoosh underneath your letters and now you’ve got some notably stylish text (Tip: Keep this swoosh consistent through your website and other media to improve your brand’s identity). Now your design is energetic and motivating.

Bright colored swooshes can be fun and eye-catching, while more basic colors can help brand the product or service you are selling. Coca-Cola actually adds a swoosh to their logo at the end of the “C”, while Subway adds an arrow (a close cousin of the swoosh) to the beginning and end….they’ve truly made these text effects their own.

Blur- Not to be overdone, a slight blur to your logo’s text can soften the look and feel and again make a statement about your company. It might be used to represent softness and tenderness or simply to make the text effect more subtle when you want the rest of your graphics to stand out.

Tip: If you’re using The Creator software’s blur text effect, consider using the “opacity” slider within the “blur” tool for more awesome text.

Now that you have some cool text ideas in mind, play around with them and notice how each effect can create a different message about your logo or graphic design. Have fun and best wishes!